![]()
![]()
|
|
|
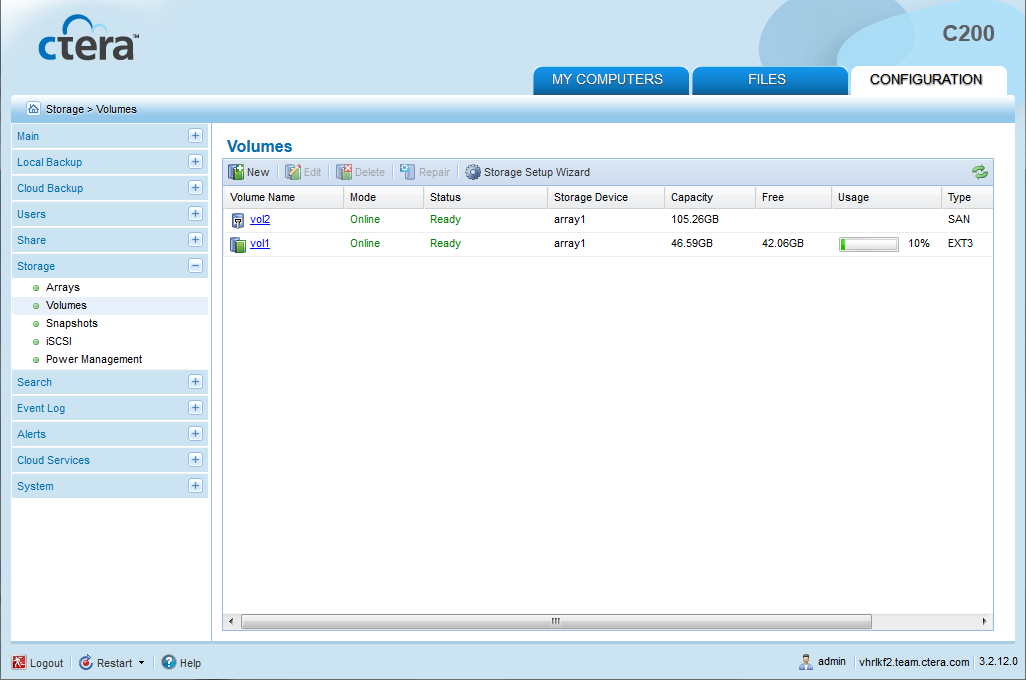
To add or edit a logical volume
The Storage > Volumes page appears.
The Logical Volume Wizard opens, displaying the Specify Volume Details dialog box.

The following things happen:
This check box is disabled when editing a volume.
|
Tip |
|
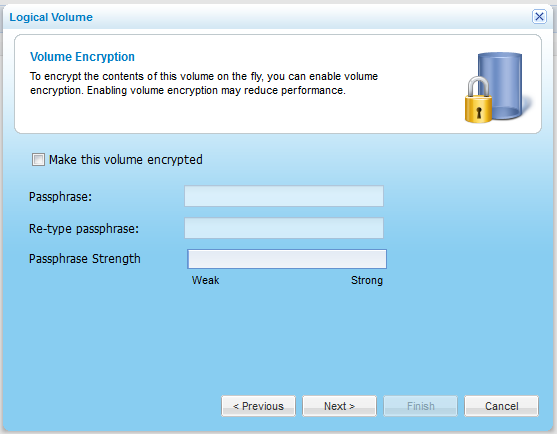
Volume encryption is supported both for standalone volumes and volumes residing in RAID arrays. |
|
Tip |
|
The encryption method employed is the Advanced Encryption Standard (AES-256 CBC ESSIV). Enabling volume encryption may reduce performance. |
The Passphrase Strength field displays the passphrase's strength.
|
Warning |
|
It is important to keep this passphrase in a safe place, as there is no way of retrieving it if you lose it. If you reset your appliance to its default settings, you cannot access the volume without this passphrase. |

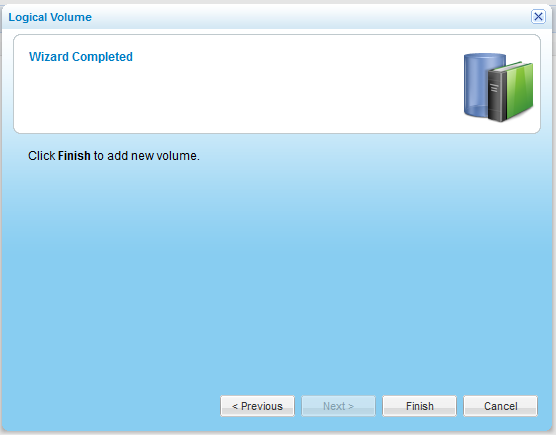
The Wizard Completed screen appears.
In this field... |
Do this... |
Storage Device |
Select the array on which you want to create the volume. The size of each array is listed next to its name. You can also create volumes directly on an empty drive. This is called a standalone drive. |
Volume Size |
Do one of the following:
Note: If snapshots are enabled, you cannot decrease the size of the volume. |
Volume Type |
Select the desired volume type:
For more information on volume types, see Overview. Once set, the volume type cannot be changed. |
Support snapshots |
Select this option to enable NEXT3 snapshots for the volume. The volume will be installed with the NEXT3 file system, and snapshots will automatically be taken of the volume before each cloud backup or outgoing synchronization rule is performed. Note: This option relates to NEXT3 snapshots only, and clearing it will not prevent cloud snapshots from being created. For information on types of snapshots, see Working with Snapshots. This option is only available if the volume type is File System (NAS). |
Support quotas |
Select this option limit the amount of storage space allocated to each volume user. Each user can then be allocated a specific storage space quota, as described in Allocating Disk Quotas to Users. If quotas are not enabled, then each user will be able to use unlimited amount of space on this volume. |
Default Quota |
To set a default storage space quota for volume users, select this option and then type the desired default quota in MB in the field. This quota will be allocated to each user by default. If this option is not enabled, then an unlimited amount of space will be allocated to each user by default. In either case, the default allocated quota can be overridden, as described in Allocating Disk Quotas to Users. |
See Also |