Book Contents

Book Index

Adding and Editing Arrays

To add or edit an array

  1. In the Configuration tab's navigation pane, click Storage > Arrays.

    The Storage > Arrays page appears.

    Linked Picture File

  2. Do one of the following:

    The Array Editor Wizard opens, displaying the Select drives to join this Array dialog box.

    Linked Picture File

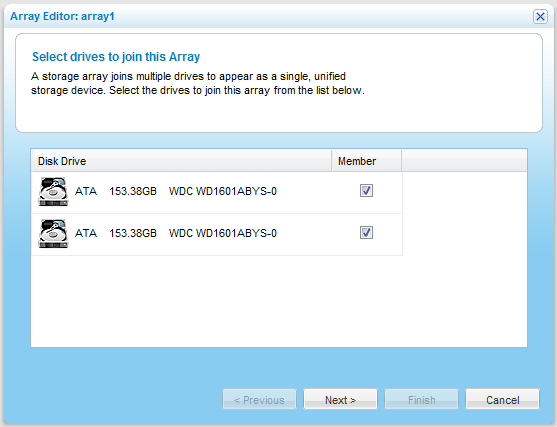
    The available drives are listed, along with disk type, disk capacity in GB, and disk model.

  3. Select the check boxes next to the drives you want to include in the array.


    Tip

    Info Icon

    It is not recommended to create an array using USB drives. An array cannot contain both SATA and USB drives.

  4. Click Next.

    The Select a RAID Level dialog box appears.

    Linked Picture File

  5. Choose the desired array type.

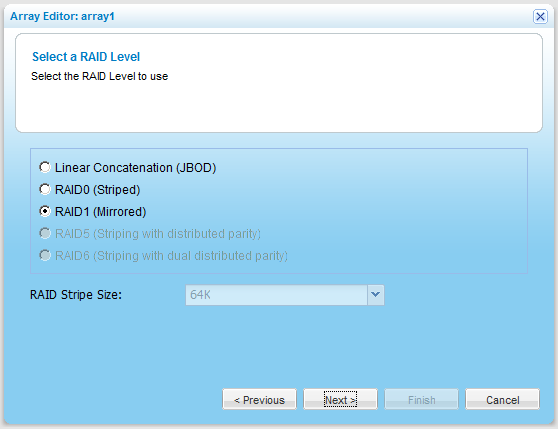
    For information about the available types, see Array Types.

  6. If you chose RAID0, RAID5, or RAID6, in the RAID Stripe Size field, select the desired stripe size in kilobytes.

    The stripe size is the amount of data written to each drive in turn. Reading and writing large data files sequentially generally benefits from a large stripe size. Small random reads and writes generally benefit from a smaller stripe size.

    The default value is 64 K.

  7. Click Next.

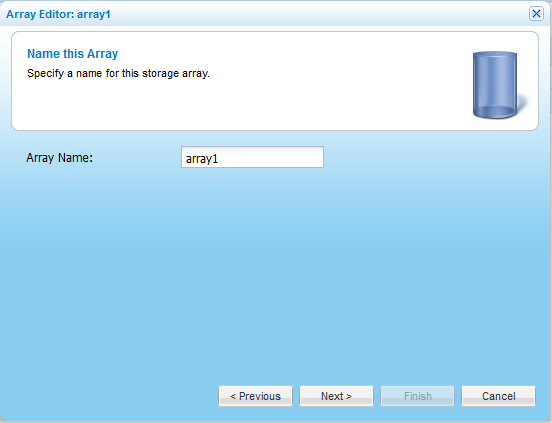
    The Name this Array dialog box appears.

    Linked Picture File

  8. In the Array Name field, type a name for the array.
  9. Click Next.

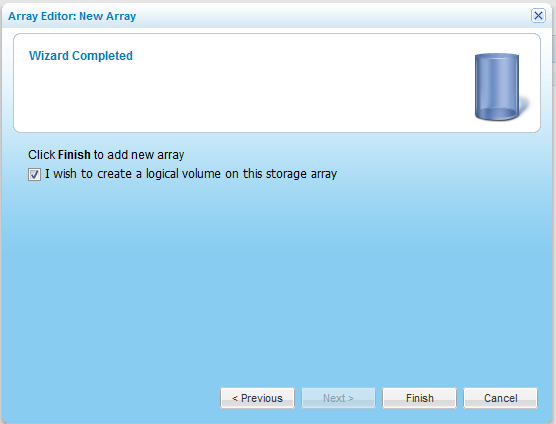
    The Wizard Completed screen appears.

    Linked Picture File

  10. To immediately create a volume on the array, select the I wish to create a logical volume on this storage array check box.
  11. Click Finish.

See Also

Deleting Arrays

Scheduling Automatic Data Scrubbing

Manually Starting Data Scrubbing

Adding and Editing Logical Volumes

Deleting Logical Volumes

Scanning and Repairing Logical Volumes