![]()
![]()
|
|
|
You can scan the file system on a volume for errors. Any detected errors are automatically repaired, if possible.
The scan and repair utility supports both EXT3 and NEXT3 volumes.
|
Warning |
|
During the scanning process, the volume is taken offline. Do not turn off the appliance, while the volume is being scanned. |
To scan and repair a volume
The Storage > Volumes page appears.
The Logical Volume Wizard opens, displaying the Volume Repair Utility dialog box.
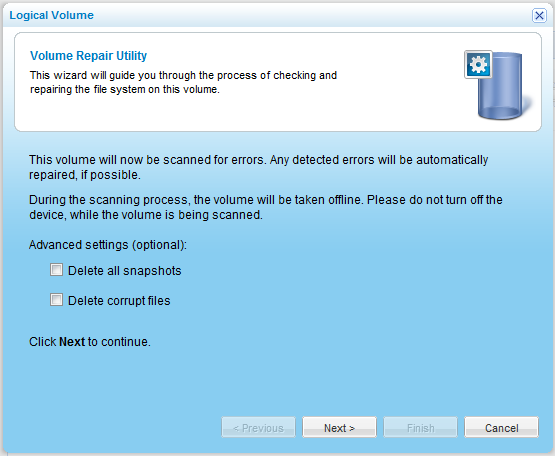
This option is only available when repairing a NEXT3 volume.
If repairing a NEXT3 volume, the Delete all snapshots check box is automatically selected.
The Scanning & Repairing screen appears with a progress bar.
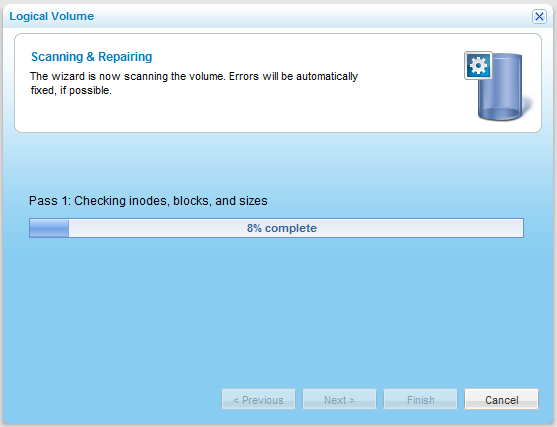
The files system on the volume is scanned for errors.
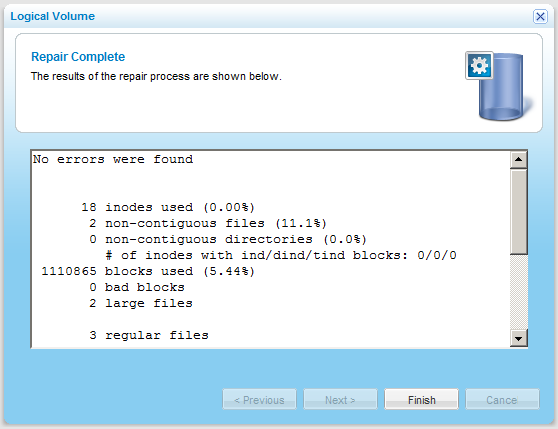
The Repair Complete screen appears with a list of files system errors that were corrected.
See Also |