![]()
![]()
|
|
|
To back up a network share using Clientless Backup
The Local Backup > Clientless Backup page appears, displaying all computers in the network neighborhood.

|
Tip |
|
Computers for which Clientless Backup is defined, but which are currently unavailable, appear in gray. |
|
Tip |
|
If your computer is missing in the list or appears in gray, see Enabling File Sharing on a PC. |

Enter the user name and password.
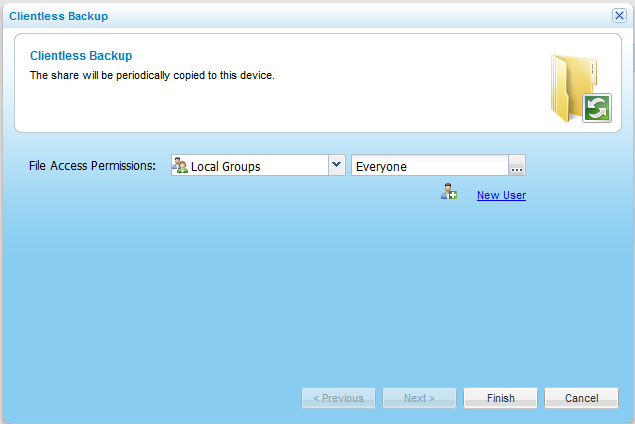
The Clientless Backup Wizard opens displaying the Clientless Backup dialog box.
For information on editing users, see Adding and Editing Users.
Local Users. Search the users defined locally on the appliance.
Domain domain Users. Search the users belonging to the domain called domain.
Local Groups. Search the user groups defined locally on the appliance.
Domain domain Groups. Search the user groups belonging to the domain called domain.
A table of users or user groups matching the search string appears.
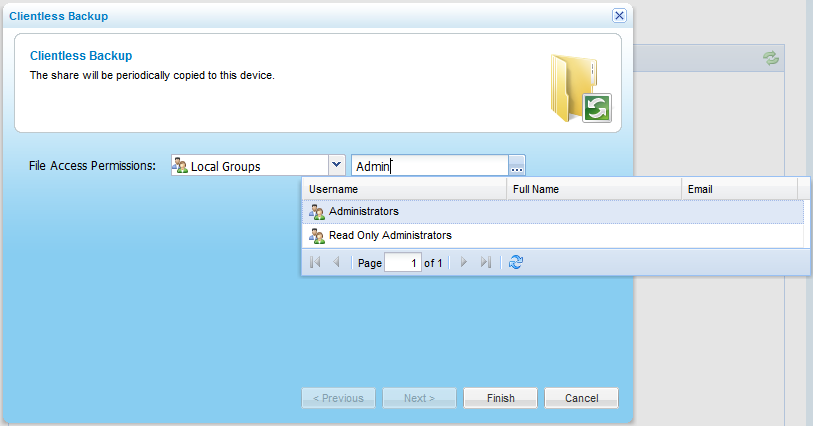
The user or user group appears in the Quick Search field.
See Also |