- Configure Windows file sharing for one domain in the tree/forest.
See Configuring Windows File Sharing for an Individual Active Directory Domain.
New links appear in the Domain / Workgroup area.
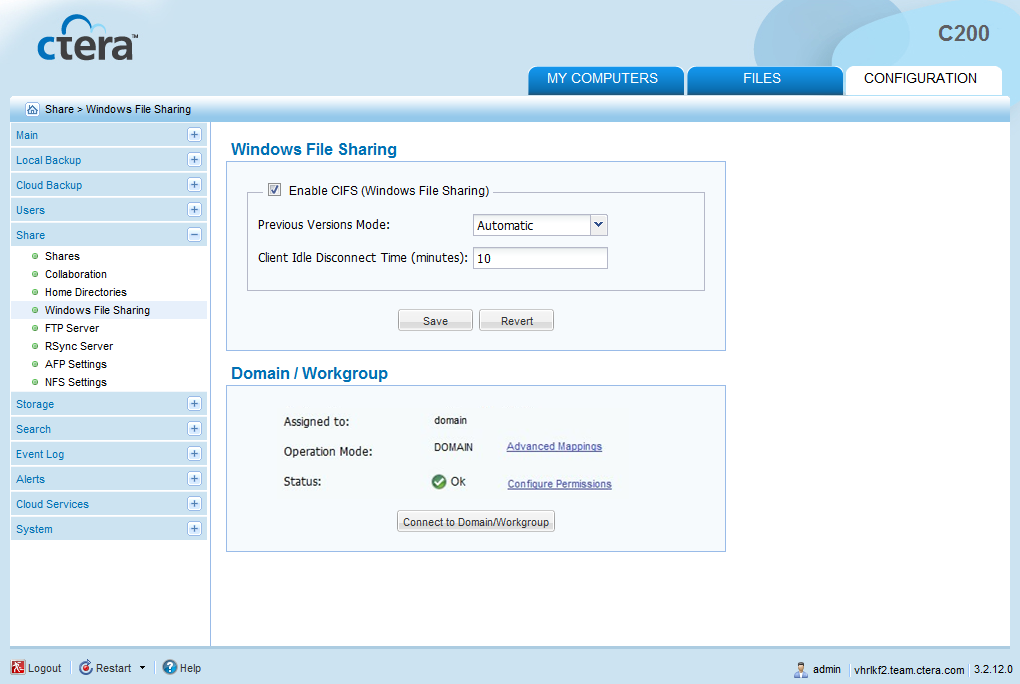
- Click Advanced Mappings.
The UID/GID Mapping dialog box opens.

- Add the other domains in the tree/forest, by doing the following for each one:
- In the Add domain field, either type the desired domain's name, or select it from the drop-down list.
- Click Add.
The domain appears in the table.
- Click in the UID/GID Start field, and type the starting number in the range of appliance user and group IDs (UID/GID) that should be assigned to users and user groups from this domain.
- Click in the UID/GID End field, and type the ending number in the range of appliance user and group IDs (UID/GID) that should be assigned to users and user groups from this domain.
- To re-order the domains, do any of the following:
- To move a domain up in the table, click on the desired domain, then click Move Up.
- To move a domain down in the table, click on the desired domain, then click Move Down.
The order in which domains appear in the table represents the order in which the domains will appear in drop-down lists throughout the appliance interface, (for example, when managing access rights to projects).
- To remove a domain, in their row, click
 .
.The domain is removed from the table.
- Click Save.