![]()
![]()
|
|
|
To configure Windows file sharing for a workgroup
The Share > Windows File Sharing page appears.
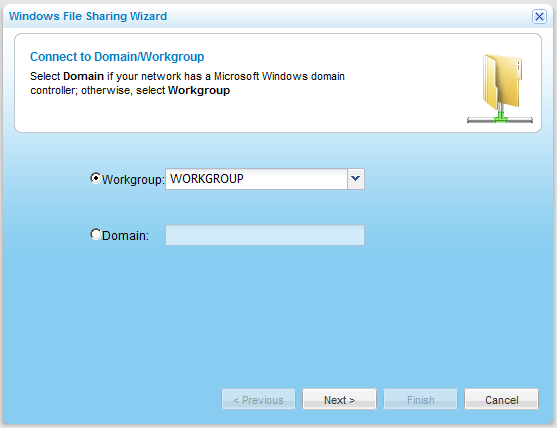
The Windows File Sharing Wizard opens, displaying the Connect to Domain/Workgroup dialog box.
|
Tip |
|
You must assign this same workgroup name to all of the computers in the network. |
|
Tip |
|
In most Windows versions, the default workgroup name is WORKGROUP. In Windows XP Home edition, the default workgroup name is MSHOME. The appliance automatically scans for available workgroups in the LAN. The results of these scans can be selected from the Workgroup drop-down list. |
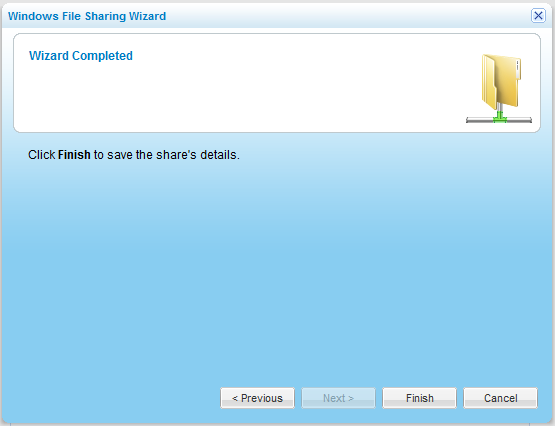
The Wizard Completed screen appears.
See Also |