Book Contents

Book Index

Configuring Disk-Level Backup Settings

To configure disk-level backup settings

  1. Open the CTERA Agent Manager.

    See Opening the CTERA Agent Manager.

  2. Click the Disk-level Backup tab.

    The Disk-level Backup tab appears.

    Linked Picture File

  3. Click Override, to override the global settings for disk-level backup.

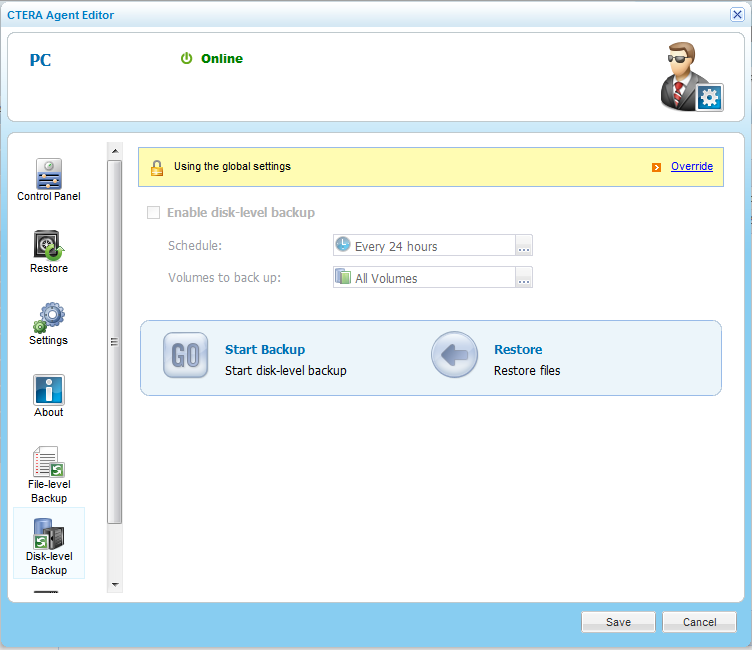
    Global settings include whether disk-level backup is enabled, as well as the disk-level backup schedule.


    Tip

    Info Icon

    You can revert to global disk-level backup settings at any time, by clicking Use global settings.

  4. Select the Enable disk-level backup check box.
  5. To schedule disk-level backup, do the following:
    1. In the Schedule field, click Icon-Elipsis.png.

      The Schedule dialog box appears.

    2. Complete the fields using the information in Schedule Fields.
    3. Click OK.

    The default disk-level backup value is Every 24 hours.

  6. To select volumes for backup, do the following:
    1. In the Volumes to back up field, click Icon-Elipsis.png.

      The Volumes window opens.

      Linked Picture File

    2. Expand the tree nodes and select the check boxes next to the volumes you want to back up.

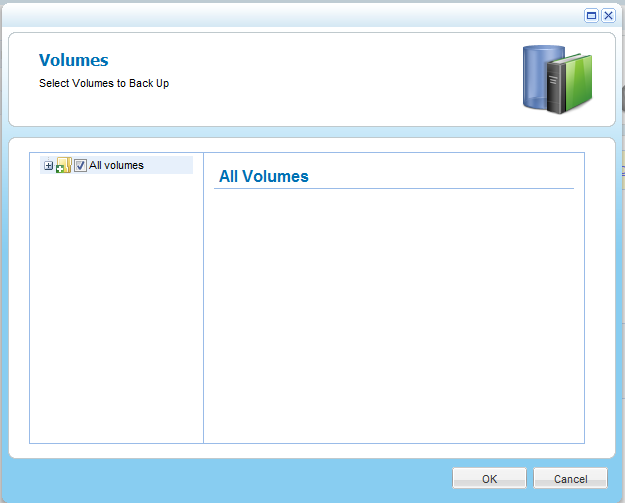
      For an explanation of the icons and check boxes next to each folder, see Folder Icons.

    3. Click OK.
  7. Click Save.

See Also

Configuring General Settings

Configuring File-Level Backup Settings

Configuring System State Backup Settings

Configuring Windows Explorer Integration Settings