![]()
![]()
|
|
|
|
Tip |
|
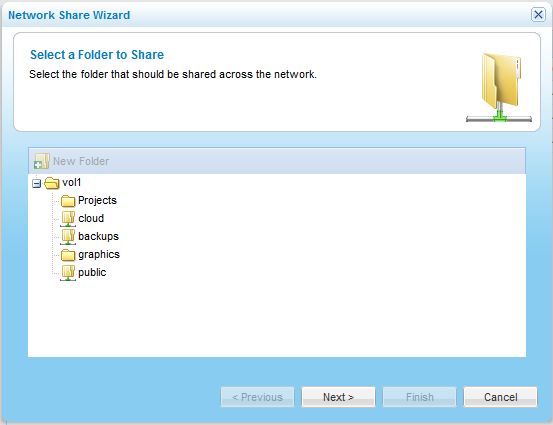
Network shares must not overlap one another. For example, you cannot share both /a and /a/b. |
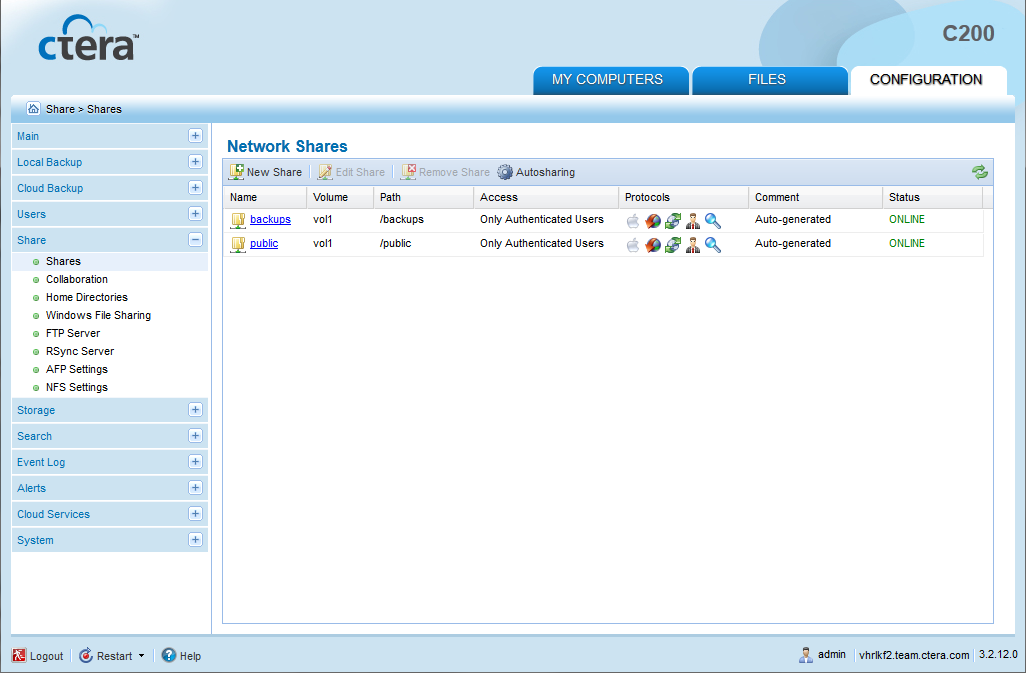
To add or edit a network share
The Share > Shares page appears.
The Network Share Wizard opens, displaying the Select a Folder to Share dialog box appears.
The Create a New Folder dialog box opens.
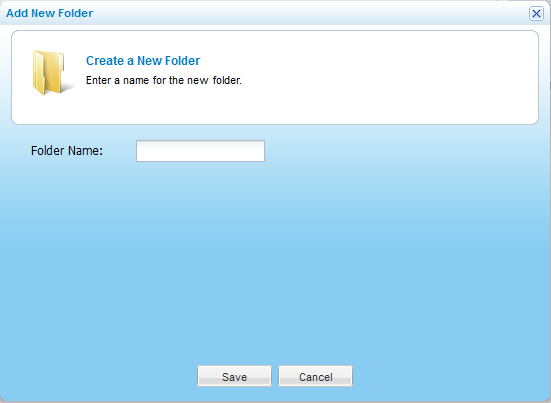
The new folder appears in the Select a folder to Share dialog box.
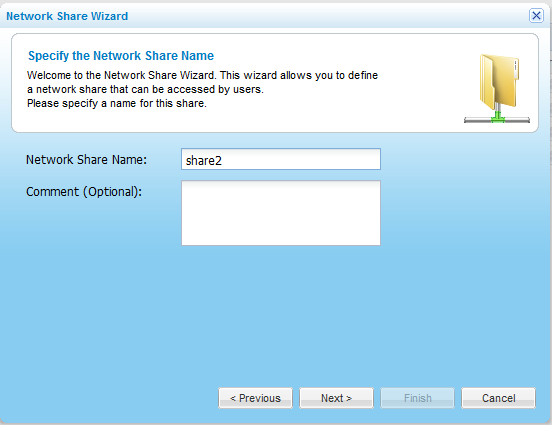
The Specify the Network Share Name dialog box appears.
The Sharing Protocols dialog box appears.
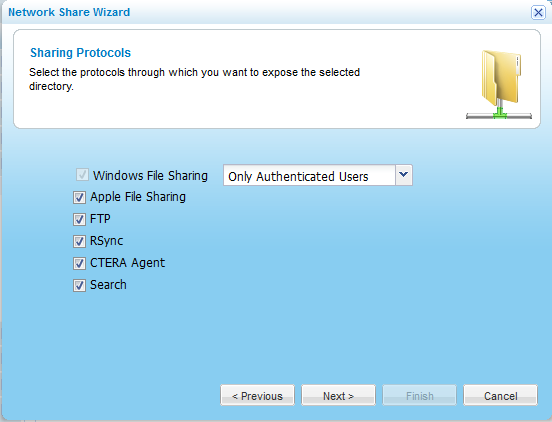
Windows File Sharing is selected by default and cannot be unselected.
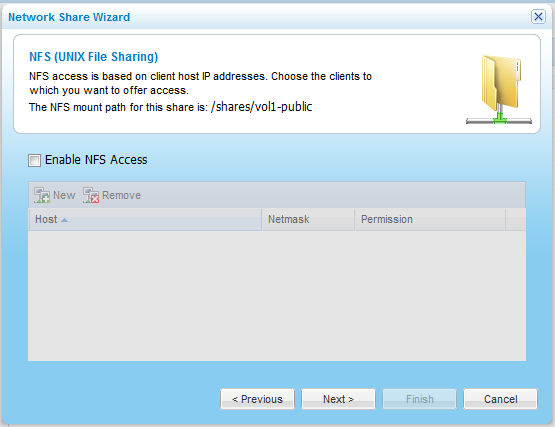
The NFS (UNIX File Sharing) dialog box appears.
A row appears in the table.
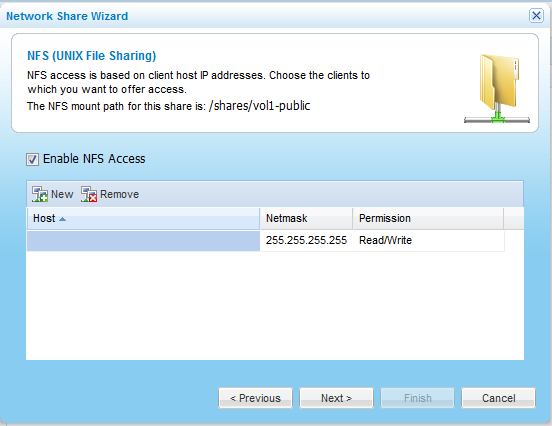
Options include None, Read Only, and Read/Write.
|
Tip |
|
The NFS mount path for the network share is specified at the top of the dialog box. |
The Configure Permissions dialog box appears.
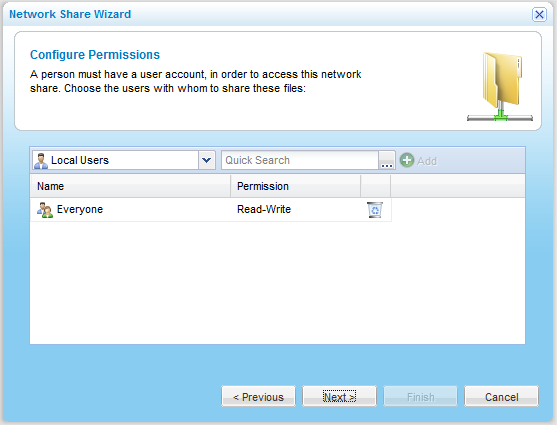
A table of users or user groups matching the search string appears.
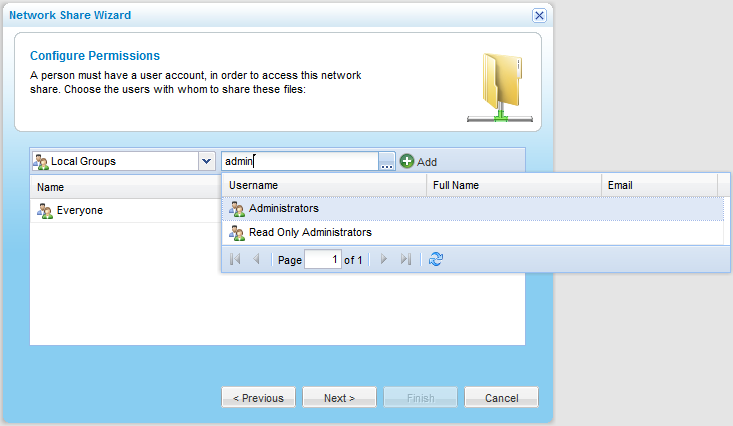
The user or user group appears in the Quick Search field.
The user or user group is added to the list of users and user groups who should have access to the network share.
For information on editing users, see Adding and Editing Users.
The user or user group is removed from the table.
Options include None, Read Only, and Read/Write.
The Wizard Completed screen appears.
The network share is added.
See Also |
Select this option... |
To specify that... |
Only Authenticated Users |
Users will be required to authenticate using their appliance user name and password, in order to access the network share. |
Public Read/Write |
Users will be able to read and write to this network share using Windows File Sharing, and will not be required to enter their user name and password. |
Public Read |
Users will be able to read files from this network share using Windows File Sharing, and will not be required to enter their user name and password. |