![]()
![]()
|
|
|
|
Tip |
|
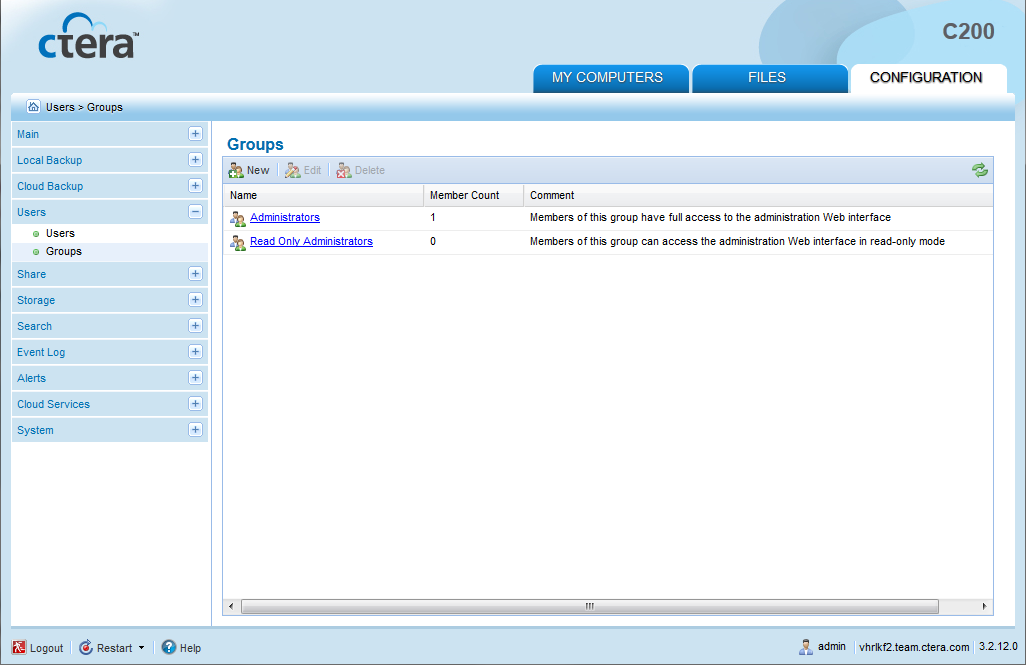
Users can be members of multiple groups. |
|
Tip |
|
The groups Read Only Administrators and Administrators are built-in. It is not possible to edit the built-in user groups' names or descriptions. |
To add or edit a user group
The Users > Groups page appears.
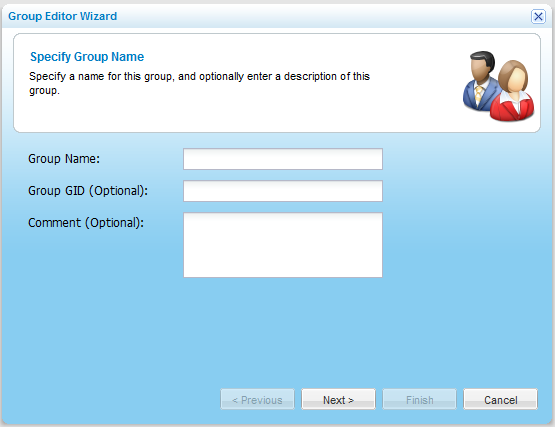
The Group Editor Wizard opens, displaying the Specify Group Name dialog box.
The Select Group Members dialog box opens.
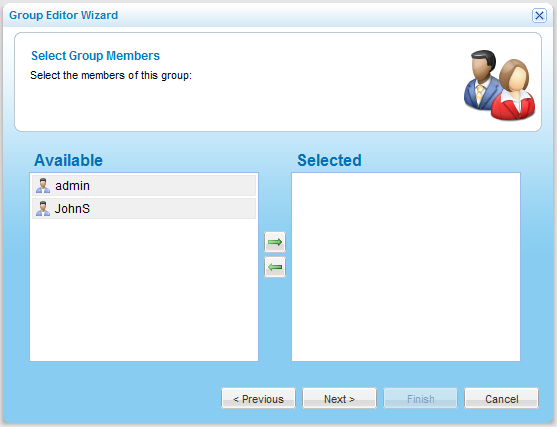
The Available pane lists all users that have not yet been assigned to the user group, and the Selected pane lists all users who have been assigned to the user group.
The user appears in the Selected pane.
The user appears in the Available pane.
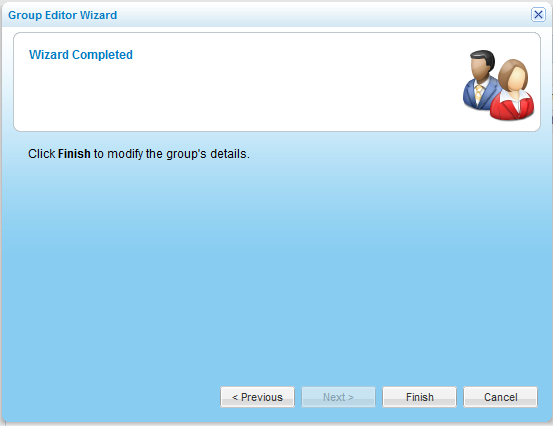
The Wizard Completed screen appears.
In this field... |
Do this... |
Group Name |
Type a name for the user group. |
Group GID (Optional) |
Type a numeric ID to assign the group. This field is optional. |
Comment (Optional) |
Type a description of the user group. This field is optional. |
See Also |