![]()
![]()
|
|
|
The Web interface includes a Setup Wizard that enables you to quickly configure basic, recommended settings for your appliance. The wizard opens automatically upon initial login; however, if desired, you can close the wizard at any stage, and set up the appliance without the aid of the wizard. You can run the wizard at any time using the following procedure.
To run the Setup Wizard
The Main > Home page appears.
The Setup Wizard opens, displaying the Easy Storage Setup dialog box.
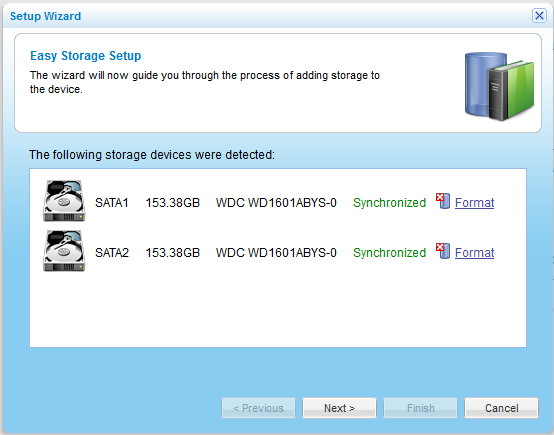
For each drive, the following information is listed: port number, disk capacity in GB, disk type, and disk model.
If there is already data on a drive, the Format option appears next to it.
A confirmation message appears.
The drive is formatted, and all of its contents are erased.
|
Warning |
|
Formatting erases all data on the drive. If you would like to retain data on a drive, do not format it. |
|
Tip |
|
The appliance supports using hard drives preformatted using the following file systems: FAT32, NTFS, EXT3, NEXT3™. If your hard drive is already formatted using one of these file systems, then you are not required to format it. If you choose to format a drive, it will use the NEXT3 file system. |
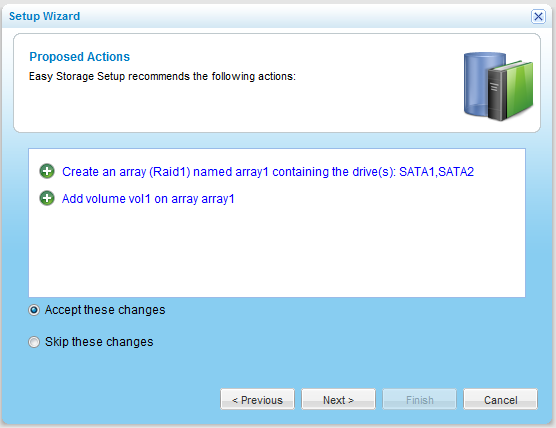
The following things happen:
|
Tip |
|
You can configure or modify storage settings later on. See Managing Storage. |
Do the following:
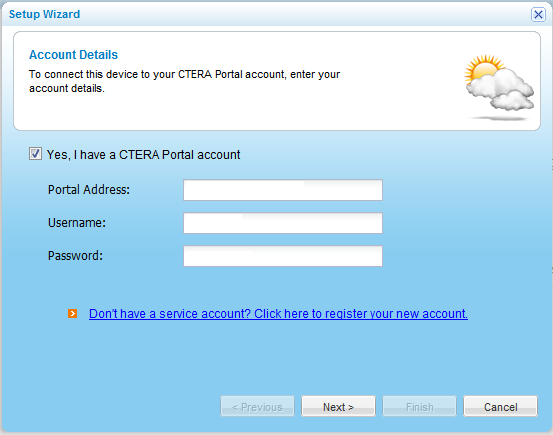
Your appliance is added to your CTERA Portal account.
The Backup Encryption dialog box appears.
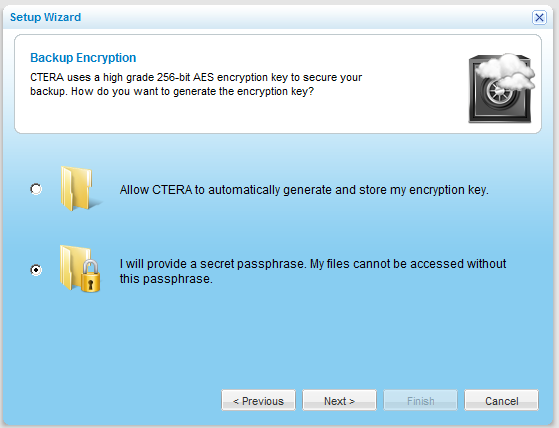
The Backup Passphrase dialog box appears.
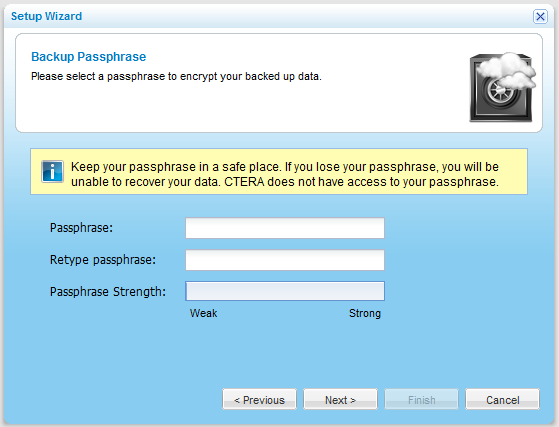
The Passphrase Strength field displays the passphrase's strength.
|
Warning |
|
Your passphrase is completely confidential, and CTERA does not retain it online or offline. It is therefore important to keep this passphrase in a safe place, as there is no way of retrieving it if you lose it. Without this passphrase, you cannot access your files. |
|
Tip |
|
You can change your passphrase in the CTERA Portal; however, you need to remember the passphrase in order to do so. |
The Wizard Completed screen appears.

See Also |