Configuring the Autosharing Access Control List
The autosharing access control list is used for all new shares created by external volume autosharing.
To configure the autosharing access control list
- In the Configuration tab's navigation pane, click Share > Shares.
The Share > Shares page appears.
- Click Autosharing.
The External Volume Autosharing dialog box opens.
- Add each user and user group who should have access to automatically created shares, by doing the following:
- In the Local Users drop-down list, select one of the following:
- Local Users. Search the users defined locally on the appliance.
- Domain domain Users. Search the users belonging to the domain called domain.
- Local Groups. Search the user groups defined locally on the appliance.
- Domain domain Groups. Search the user groups belonging to the domain called domain.
- In the Quick Search field, type a string that appears anywhere within the name of the user or user group you want to add, then click
 .
.A table of users or user groups matching the search string appears.
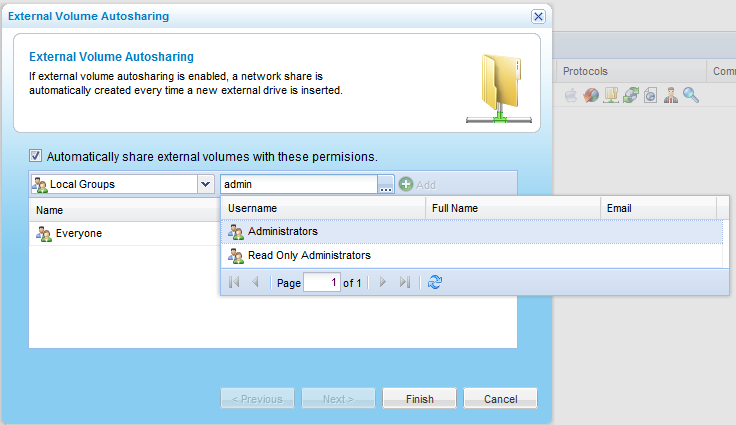
- Select the desired user or user group in the table.
The user or user group appears in the Quick Search field.
- Click Add.
The user or user group is added to the list of users and user groups who should have access to automatically created shares.
For information on editing users, see Adding and Editing Users.
- In each user and user group's row, click in the Permission column, then select the desired access level from the drop-down list.
Options include None, Read Only, and Read/Write.
- To remove a user or user group, in their row, click
 .
.The user or user group is removed from the table.
- Click Finish.