Identity Provider Details
You need to set up the CTERA Portal as a SAML application in the identity provider. The following sections outline the procedures for each of the providers certified by CTERA.
Configuring Okta to Work with CTERA Portal
You set up SAML single sign-on support in Okta using the SAML Service Provider application. You then gather the information you need to connect the CTERA Portal to Okta.
To get the SAML single sign-on information:
1 Login to Okta as the account administrator.
2 Select Applications from the top menu and then click Add Application.
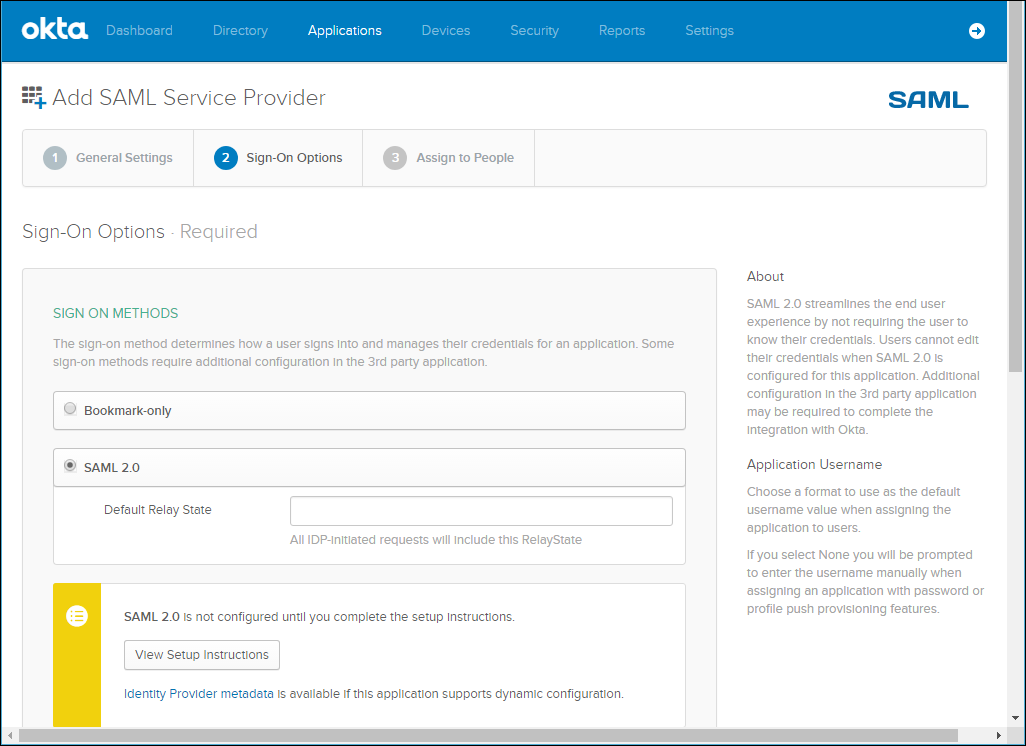
3 Select SAML Service Provider from the list of applications.
4 Change the Application label to the name you want to be displayed, for example CTERA, and click Next.
5 In Sign-on Options, click Identity Provider metadata and download the certificate.
You upload this certificate after converting it to a .pem format, when setting up SAML in the CTERA Portal.
6 Set the Assertion Consumer Service URL and the Service Provider Entity Id.
The Assertion Consumer Service URL is the endpoint where SAML responses are posted, as follows: https://fully_qualified_domain_name/ServicesPortal/saml.
For example, https://myportal.example.com/ServicesPortal/saml.
You use the Service Provider Entity Id in the CTERA Portal Entity ID/Issuer ID field when setting up SAML in the portal.
7 Continue to set up the application, as described in Okta documentation.
8 Select the application and click the General tab.
9 Scroll down to the App Embed Link section. You use the EMBED LINK value in the CTERA Portal Sign-in page URL field when setting up SAML in the portal.
10 By default, Okta has a sign-out page. You can specify your own sign-out page in Okta, under Settings > Customization. which you can use as the Log-out page URL when setting up SAML in the portal.
Configuring OneLogin to Work with CTERA Portal
You set up SAML single sign-on support in OneLogin using a SAML application. You then gather the information you need to connect the CTERA Portal to OneLogin.
To get the SAML single sign-on information:
1 Login to OneLogin as the administrator.
2 Select APPS > Company Apps from the top menu and click ADD APP.
3 Select the relevant SAML service provider from the list of applications.
4 Change the Display Name to the name you want to be displayed, for example CTERA, and click SAVE.
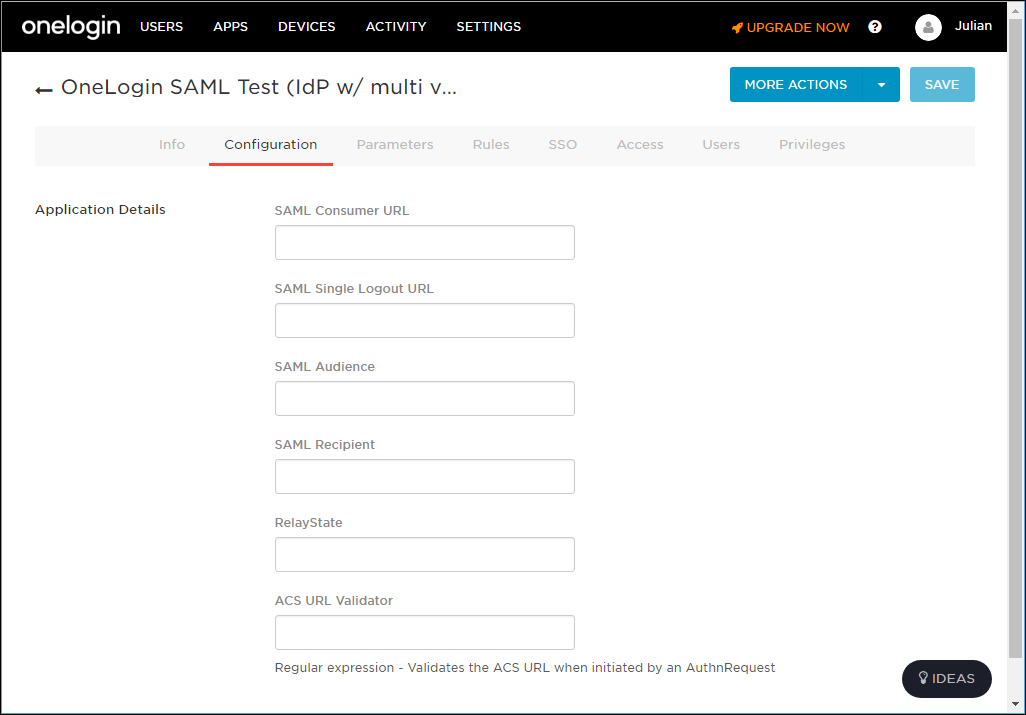
5 Select the Configuration tab.
6 Enter values.
You use the SAML Audience value in the CTERA Portal Entity ID/Issuer ID field when setting up SAML in the portal.
You use the SAML Single Logout URL value in the CTERA Portal Log-out page URL field when setting up SAML in the portal.
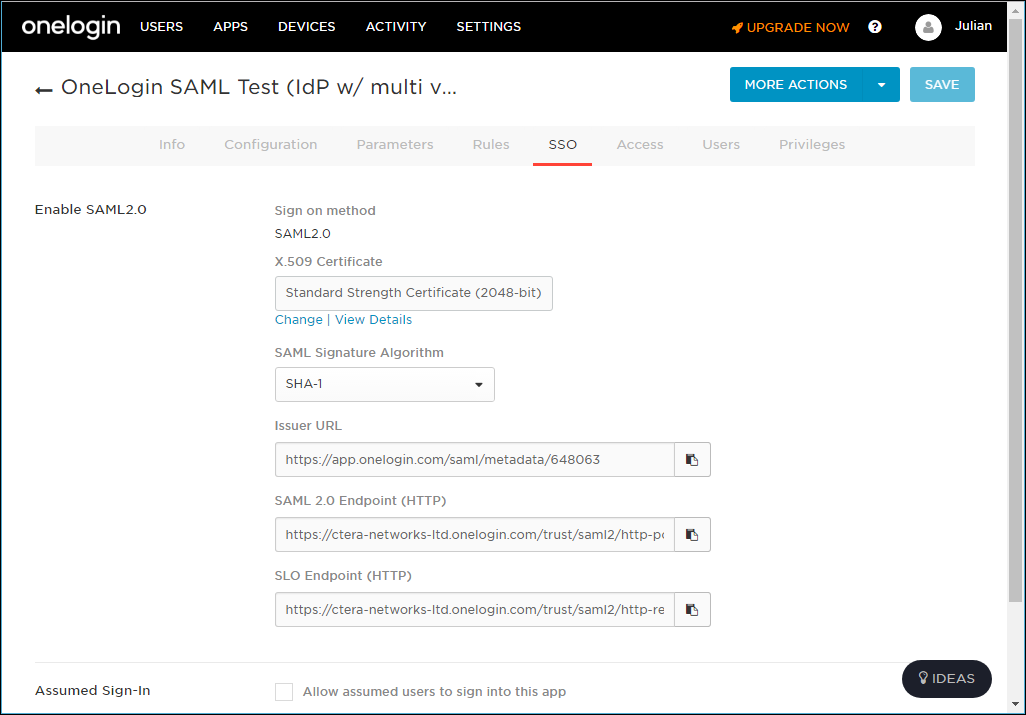
7 Select the SSO tab.
You use the SAML 2.0 Endpoint (HTTP) value in the CTERA Portal Sign-in page URL field when setting up SAML in the portal.
8 Click View Details under the X.509 Certificate field and click DOWNLOAD to download the X.509 PEM certificate.
You upload this certificate when setting up SAML in the CTERA Portal.
Configuring ADFS to Work with CTERA Portal
You set up SAML single sign-on support in ADFS and gather the information you need to connect the CTERA Portal to ADFS.
To get the SAML single sign-on information:
1 Login to the Windows Server 2008 or 2012 ADFS machine as the administrator.
2 Open AD FS Management.
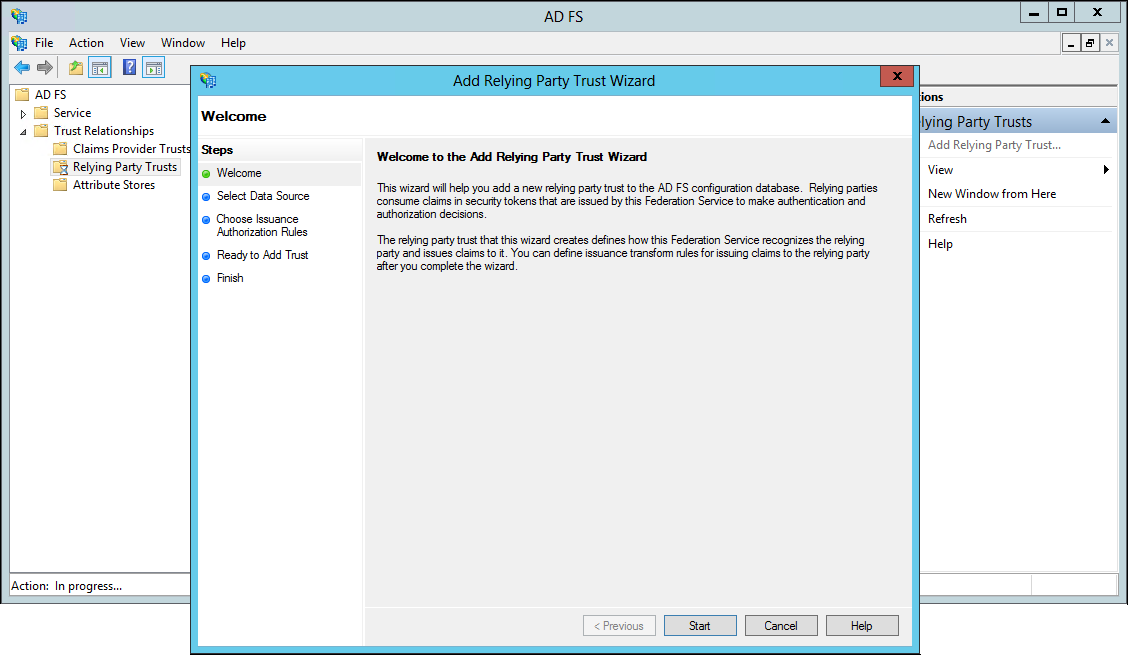
3 In the left pane navigation tree, select Trust Relationships and right-click Relying Party Trusts.
4 Click Add Relying Party Trust.
5 Click Start.
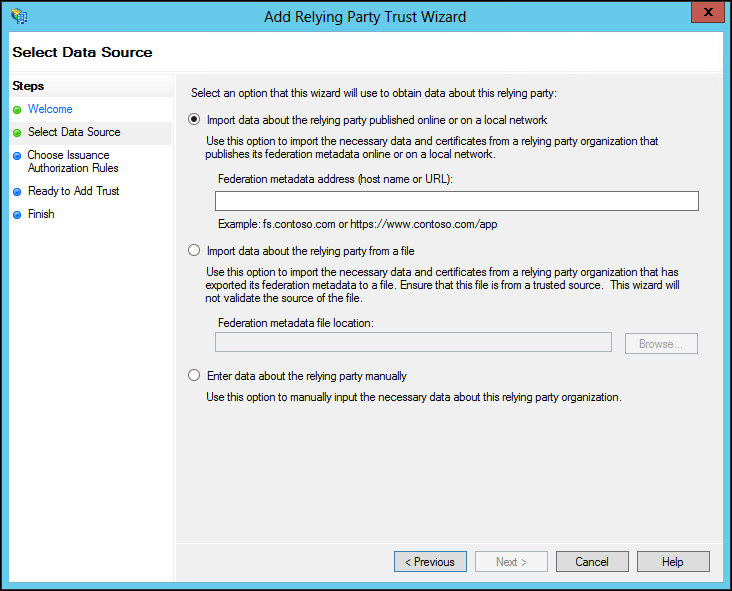
6 Choose the Enter data about the relying party manually option and click Next.
7 Enter a display name for the relying party and optionally add notes about the party and click Next.
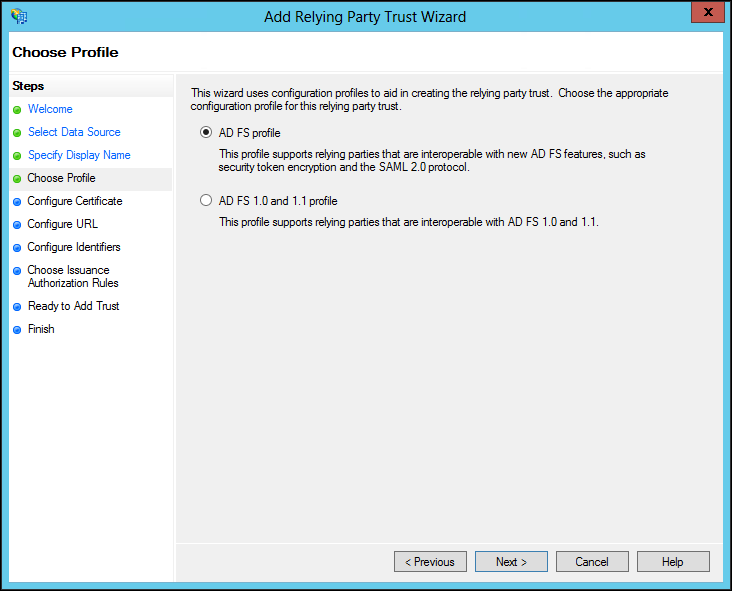
8 Choose the AD FS Profile option and click Next.
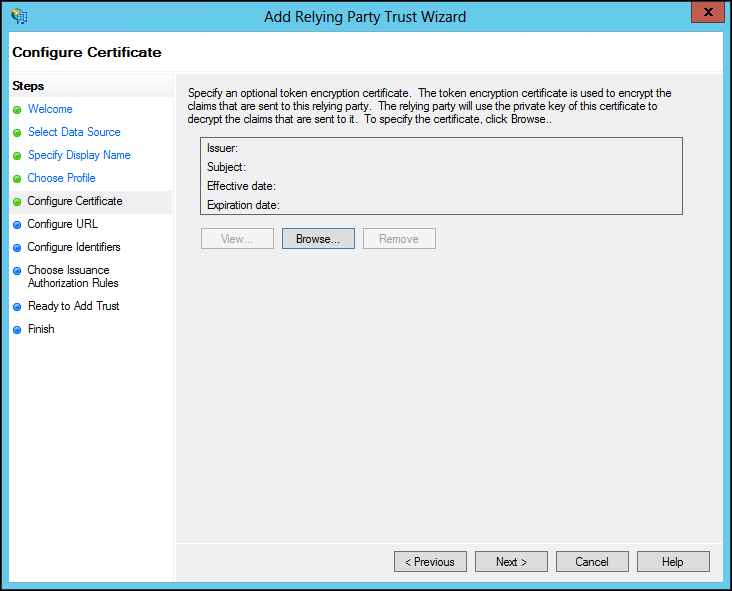
9 Optionally, if you want to encrypt claims sent to the relying party, browse to the CTERA Portal certificate and select it and click Open.
The issuer, subject, effective date and expiry date information for the certificate is displayed.
10 Click Next.
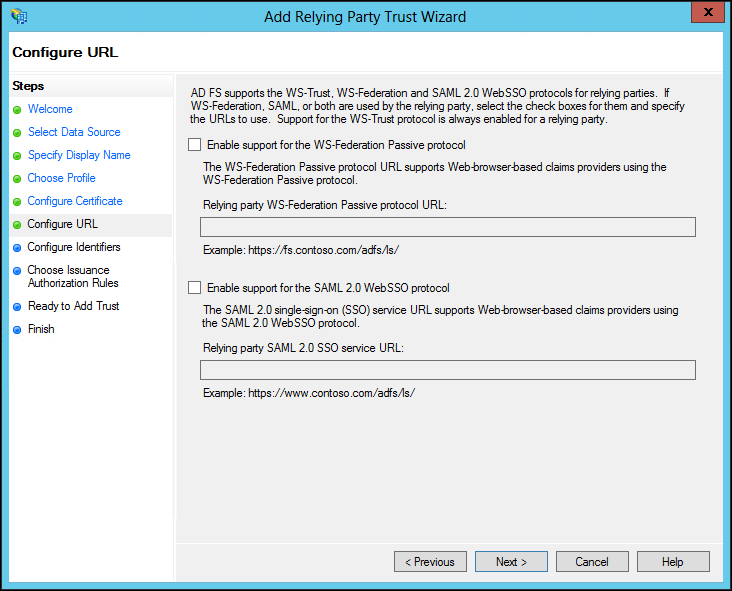
11 Check Enable support for the SAML 2.0 WebSSO protocol and enter the CTERA Portal URL followed by /SAML, as in the following example: https://exampleportal.ctera.me/ServicesPortal/saml
12 Click Next.
13 Set the Relying party trust identifier and click Add. For example, https://exampleportal.ctera.me/adfs/ls/IdpInitiatedSignOn.aspx
You use the Relying party trust identifier in the CTERA Portal Entity ID/Issuer ID field when setting up SAML in the portal.
14 Click Next.
15 Leave the default to allow all users access, unless you want to restrict the users with access to the portal to users for whom you add issuance authorization rules, as described in the ADFS documentation.
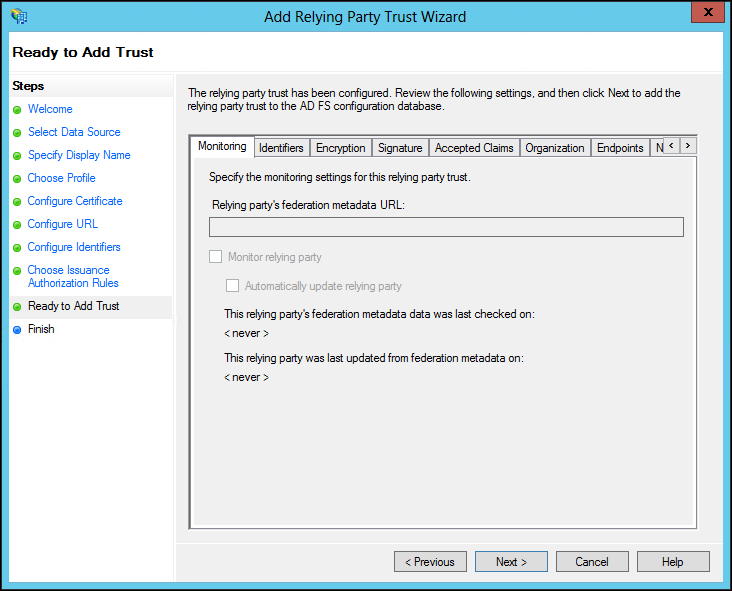
16 Click Next.
A summary of the wizard steps is displayed in the tabs.
17 Select the Signature tab and import the CTERA Portal Certificate.
18 Click Next.
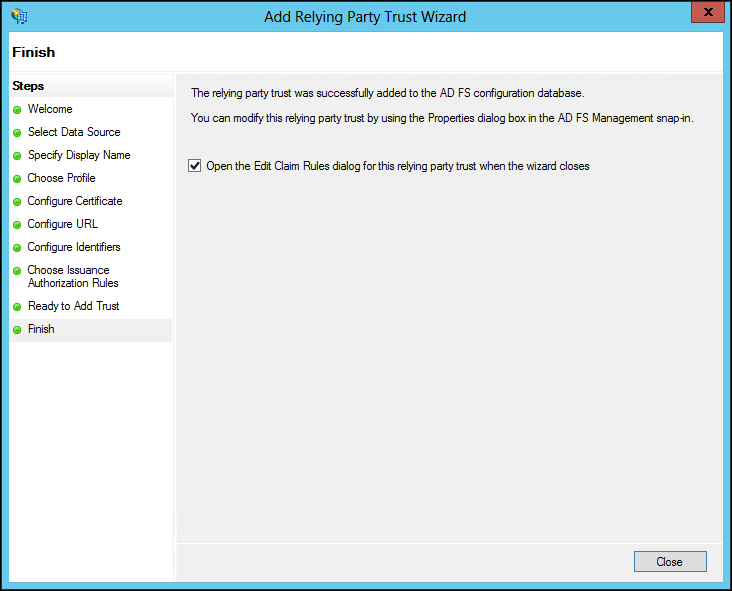
19 Check the Open Edit Claim Rules dialog for this relying trust when the wizard closes and click Close.
The Edit Claim Rules dialog for the relying party is displayed.
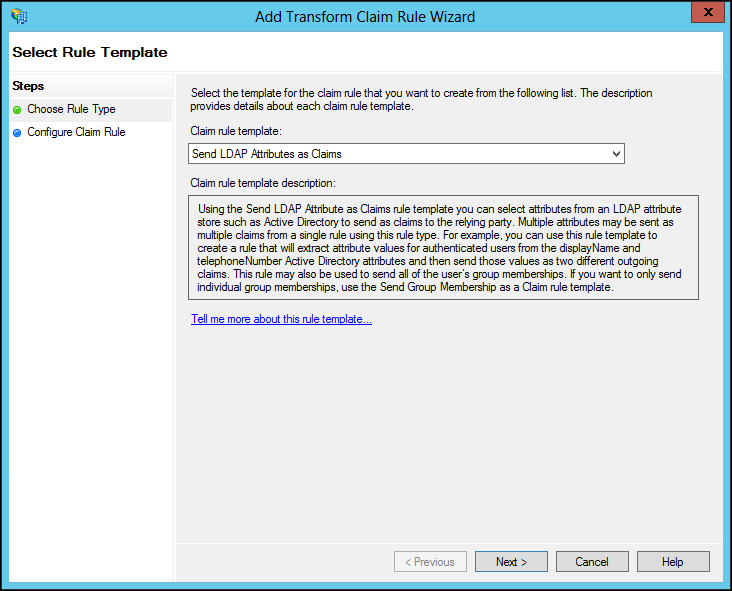
20 Click Add Rule.
21 Select Send LDAP Attributes as Claims for the Claim rule template and click Next.
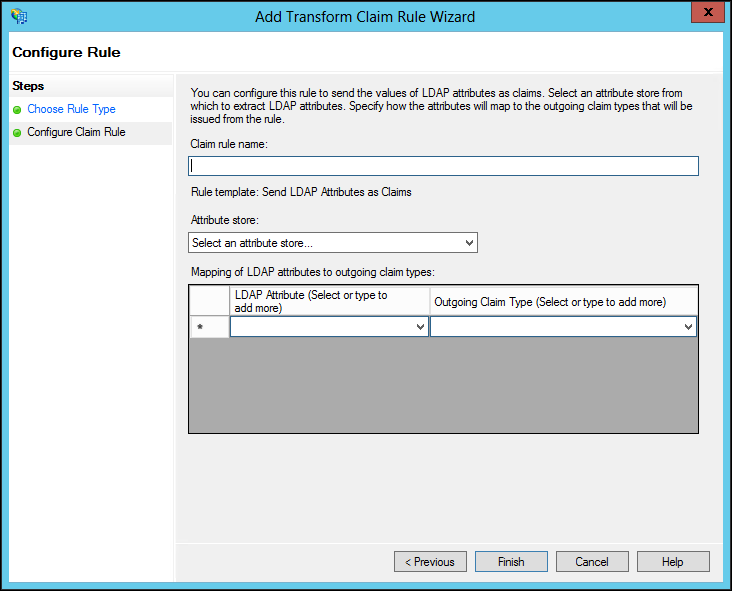
22 Enter the following:
Claim rule name – A name for the rule.
Attribute store – Select the store from the list, for example, Active Directory.
LDAP Attribute – A name LDAP attribute: SAM-Account-Name or, if using the Kerberos network authentication protocol, User-Principal-Name.
Outgoing Claim Type – Select Name ID.
23 Click Finish.
24 Click OK.
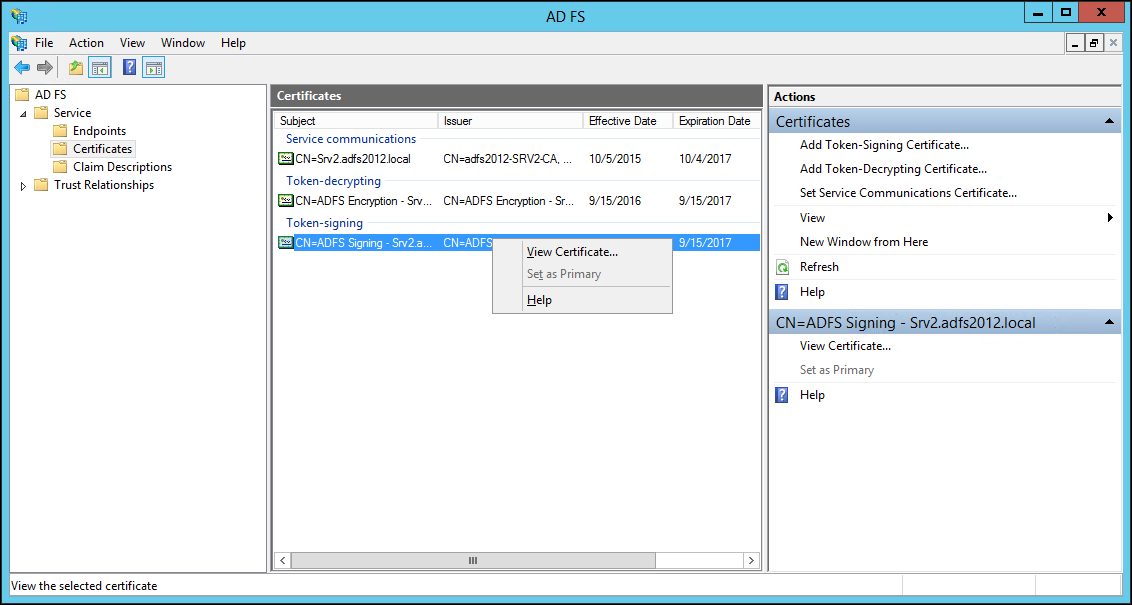
25 In the left pane navigation tree, select Service > Certificates, right-click the certificate under Token-signing and click View Certificate.
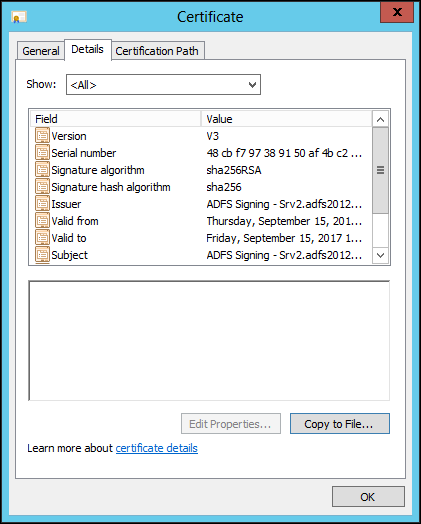
26 Select the Details tab and click Copy to File.
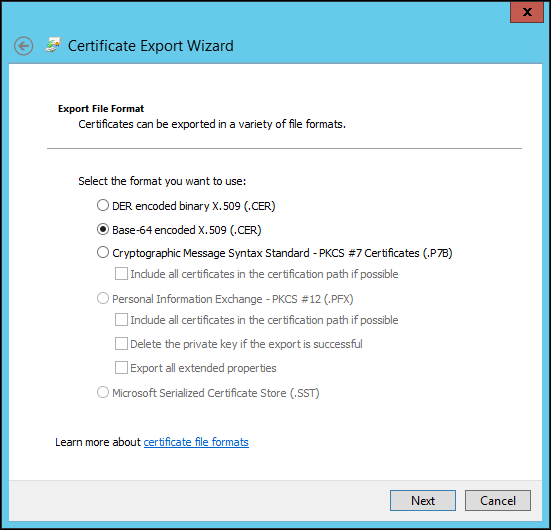
27 Click Next in the Certificate Export wizard and select the Base-64 encoded X.509 option.
28 Click Next and enter a file name.
29 Click Next and then Finish.
You upload this certificate when setting up SAML in the CTERA Portal.