Restoring Files and Folders from the Cloud Backup Control Panel
You can restore individual files or folders that were backed up to cloud storage. Alternatively, you can simultaneously restore all backed up files and folders, in order to roll back your disk contents to a previous point in time.
Note that if the same files already exist on your computer, they will be overwritten with the files you selected for restoration. Files that have been deleted since the date of the selected files will be recreated. Files that exist on your computer, but which do not exist in cloud storage or were not selected for restoration, will not be affected.
To restore files, the appliance must be connected to the CTERA Portal.
To restore backed up files from the Cloud Backup Control Panel
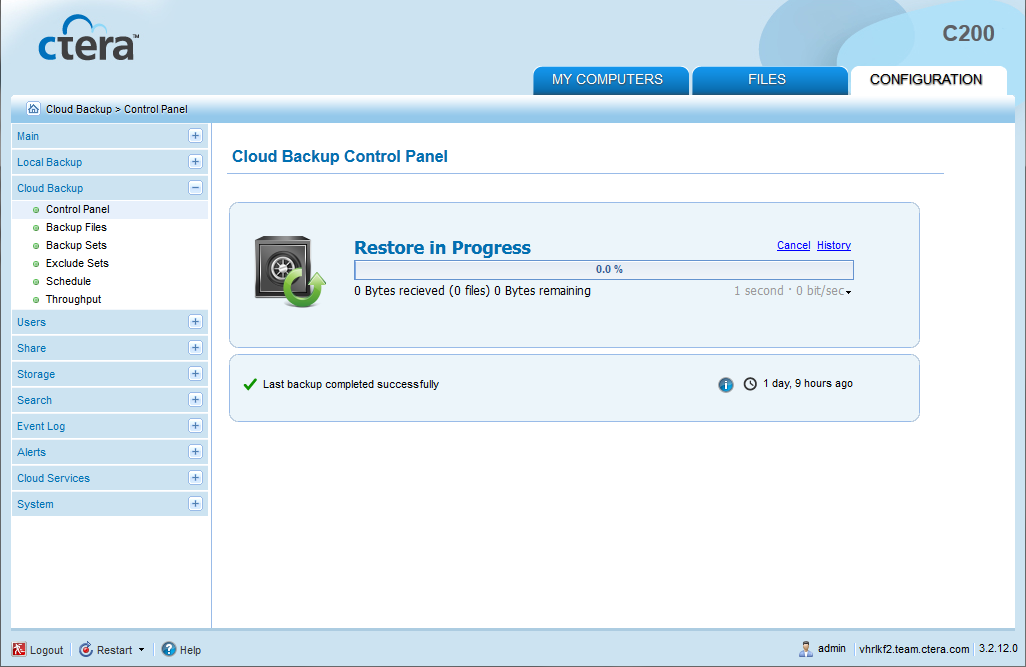
In the Configuration tab's navigation pane, click Cloud Backup > Control Panel.
The Cloud Backup > Control Panel page appears.
Click Restore.
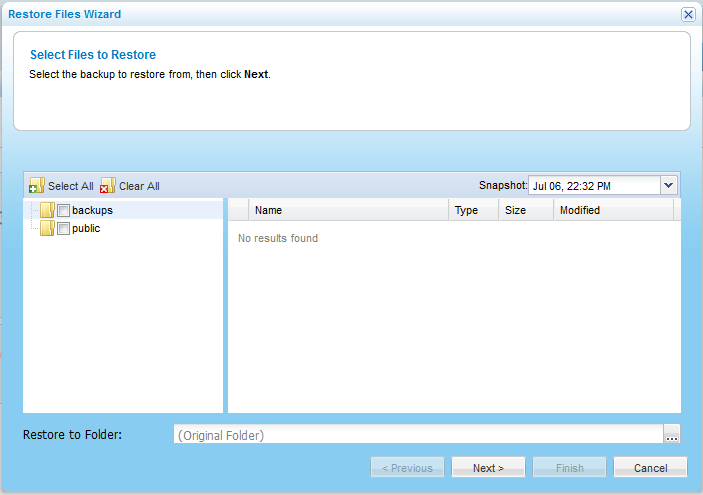
The Restore FilesWizard opens, displaying the Select Files to Restore dialog box.
In the Snapshot drop-down list, select the date and time of the snapshot from which you want to restore files.
Specify which files and folders you want to restore, by doing any of the following:
To select individual files and folders:
In the left pane, expand the nodes and click on the desired folders.
The folder contents appear in the right pane.
Select the check boxes next to the desired folders and files.
For an explanation of the icons and check boxes next to each folder, see Folder Icons.
To select all files, click Select All.
To un-select all files, click Clear All.
If you want to restore files to a location other than the original location:
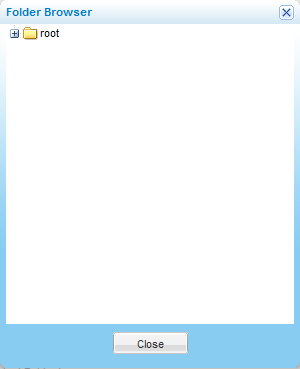
Click in the Restore to Folder field. The Folder Browser dialog box appears.
Select the folder to which you would like to restore the files.
Click Close.
Click Next.
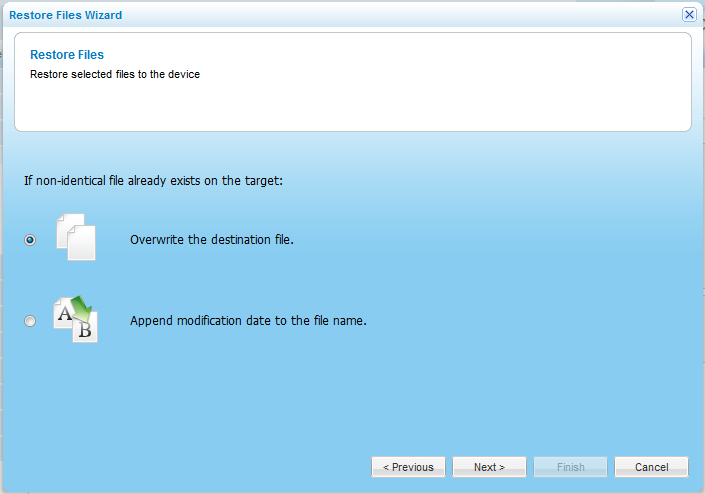
The Restore Files dialog box appears.
Specify how the appliance should handle files that exist both on your drive and in the selected backup, by doing one of the following:
To specify that the files on your drive should be overwritten by the files in the backup, choose Overwrite the destination file.
To specify that the files on your drive should have the modification date appended to their name, choose Append modification date to the file name.
Click Next.
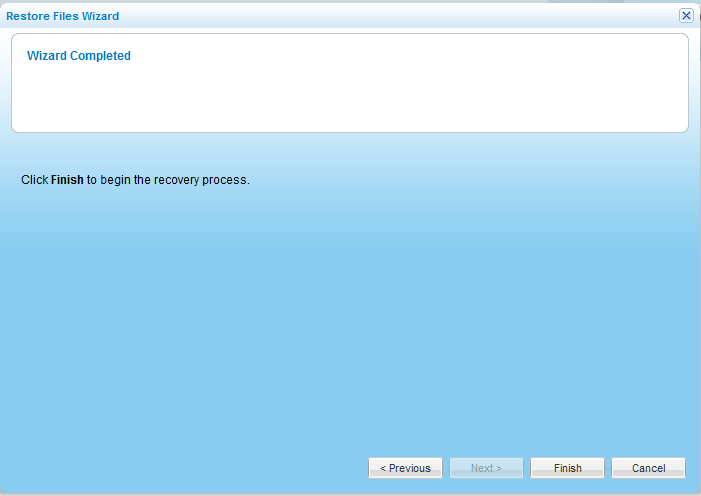
The Wizard Completed screen appears.
Click Finish.
A progress bar appears, and the files are restored form the selected backup.
To toggle the information displayed under the progress bar, do one of the following:
To display the effective throughput (in Kbit/sec), click the icon, and then click Show effective throughput.
To display the bandwidth usage (in bit/sec), click the icon, and then click Show bandwidth usage.