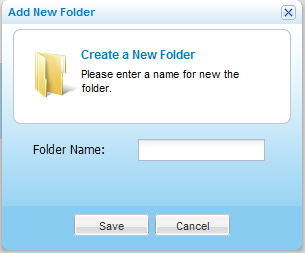
The Select the Synchronization Direction dialog box appears.
Specify the synchronization direction, by doing one of the following:
To synchronize a folder from a remote server to the appliance, choose In.
To synchronize a folder from the appliance to a remote server, choose Out.
Click Next.
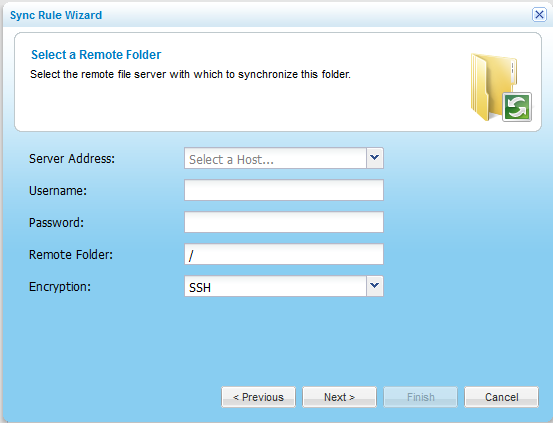
The Select a Remote Folder dialog box appears.
Complete the fields using the relevant information in the following table.
Click Next.
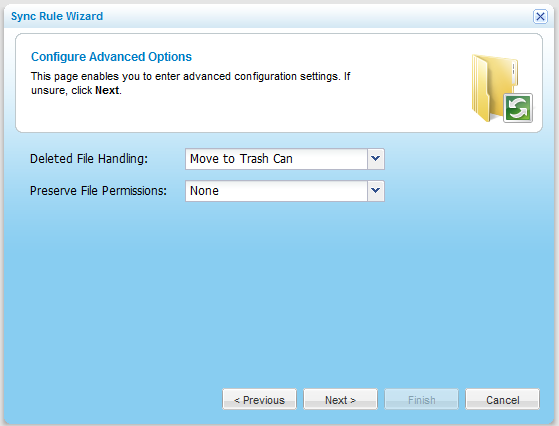
The Configure Advanced Options dialog box appears.
In the Deleted File Handling field, specify how deleted files should be handled, by doing one of the following:
To specify that files deleted in the source folder should be kept and not deleted in the destination folder, select Keep Deleted Files.
For example, if you chose to synchronize a local folder to a remote server, and one of the files in the folder is deleted locally, the file will not be deleted on the remote server.
To specify that files deleted in the source folder should be moved from the destination folder to the Trash Can, select Move to Trash Can, which is a folder called ".Trash".
To specify that files deleted in the source folder should be permanently deleted from the destination folder, select Delete.
In the Preserve File Permissions drop-down list, specify whether the permissions for synchronized files should be retained, by doing one of the following:
To specify that permissions configured for a file in the source folder should not be retained for the parallel file in the destination folder, select None.
To specify that basic permissions configured for a file in the source folder should be retained for the parallel file in the destination folder, select Basic.
To specify that full permissions configured for a file in the source folder should be retained for the parallel file in the destination folder, select Full.
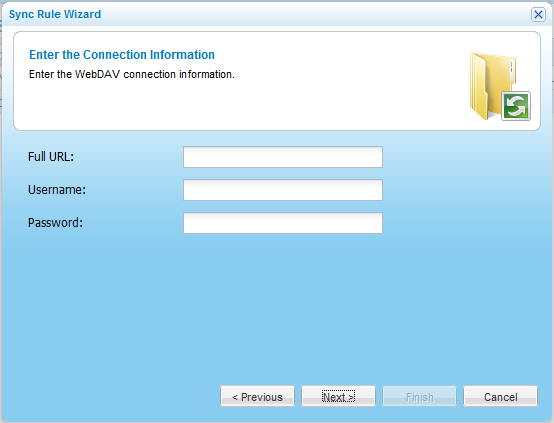
Type the user name with which the appliance should authenticate to the remote server.
If the WebDAV server does not require authentication, you can leave the Username and Password fields empty.
Password
Type the password with which the appliance should authenticate to the remote server.
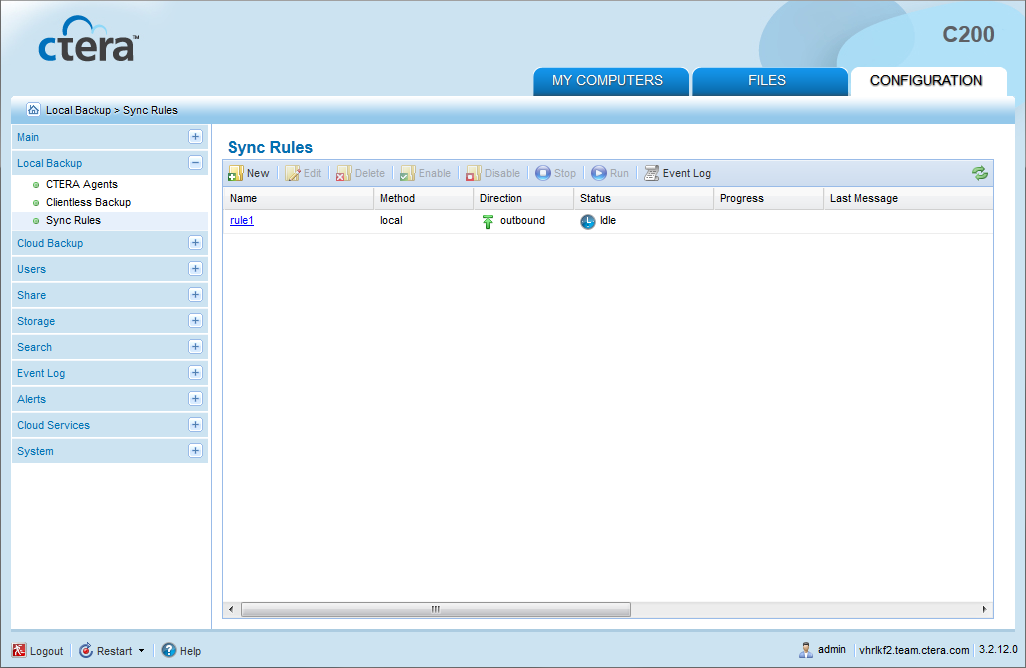
Synchronizing Two Local Folders
To synchronize two local folders
If you selected Local Folder, the Select the Destination Directory dialog box appears.
Expand the tree nodes and select the folder with which you want to synchronize.
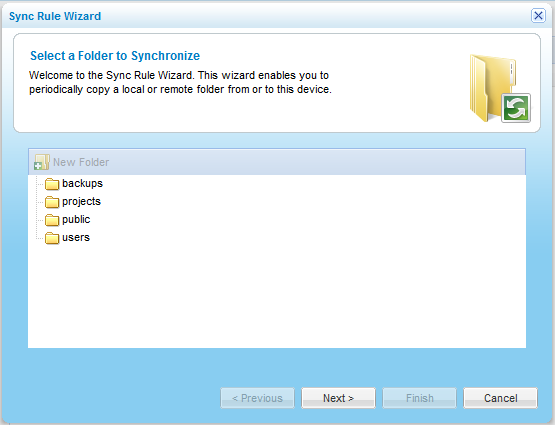
(Optional) To create a new folder, do the following:
In the tree, select the parent folder in which you want to create the new folder.
Click New Folder.
The Create a New Folder dialog box opens.
In the Folder Name field, type a name for the folder.
Click Save.
A new folder is added to the selected parent folder.
Click Next.
The Configure Advanced Options dialog box appears.
In the Deleted File Handling field, specify how deleted files should be handled, by doing one of the following:
To specify that files deleted in the source folder should be kept and not deleted in the destination folder, select Keep Deleted Files.
For example, if you chose to synchronize a local folder to a remote server, and one of the files in the folder is deleted locally, the file will not be deleted on the remote server.
To specify that files deleted in the source folder should be moved from the destination folder to the Recycle Bin, select Move to Trash Can.
To specify that files deleted in the source folder should be permanently deleted from the destination folder, select Delete.