If the desired disk tray's Tray Open Button indicates that the disk tray is locked (that is, the groove is horizontal), then unlock the disk tray by using a flat-head screwdriver to turn the groove until it is vertical.
Press the disk tray's Tray Open Button.
The disk tray lever pops out.
Pull the lever outwards to remove the disk tray from the C400.
Place the hard drive in the empty disk tray.
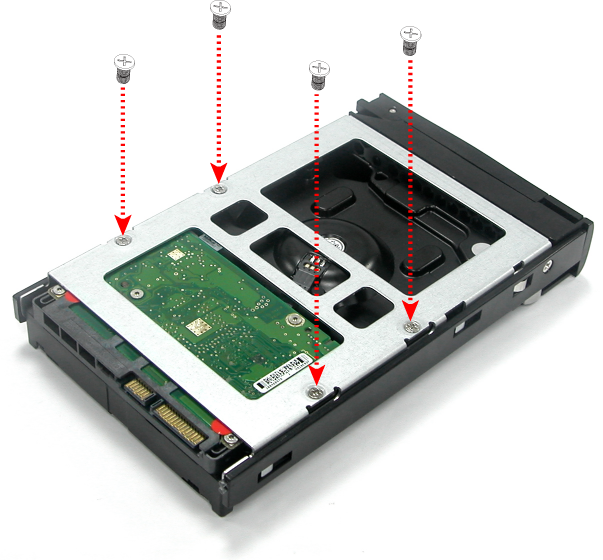
Flip over the disk tray, and use the supplied mounting screws to secure the hard drive in the disk tray.
Slide the disk tray back into the C400.
Press the disk tray lever back into place, until you hear a click.
(Optional) If you would like to prevent the disk from being removed, lock the disk tray, by using a flat-head screwdriver to turn the button until the groove is horizontal.