Installing the Virtual Gateway in a Hyper-V Environment
Installing a CTERA Gateway involves creating and configuring a virtual machine and then performing an initial setup.
In this section
Installing the Virtual Gateway
The gateway can be installed in a Microsoft Hyper-V environment:
Contact CTERA Networks, and request the latest VHD gateway hard disk.
To install the Virtual Gateway in a Hyper-V environment:
1 Open the Hyper-V Manager.
2 Right-click the hypervisor and click New > Virtual Machine.
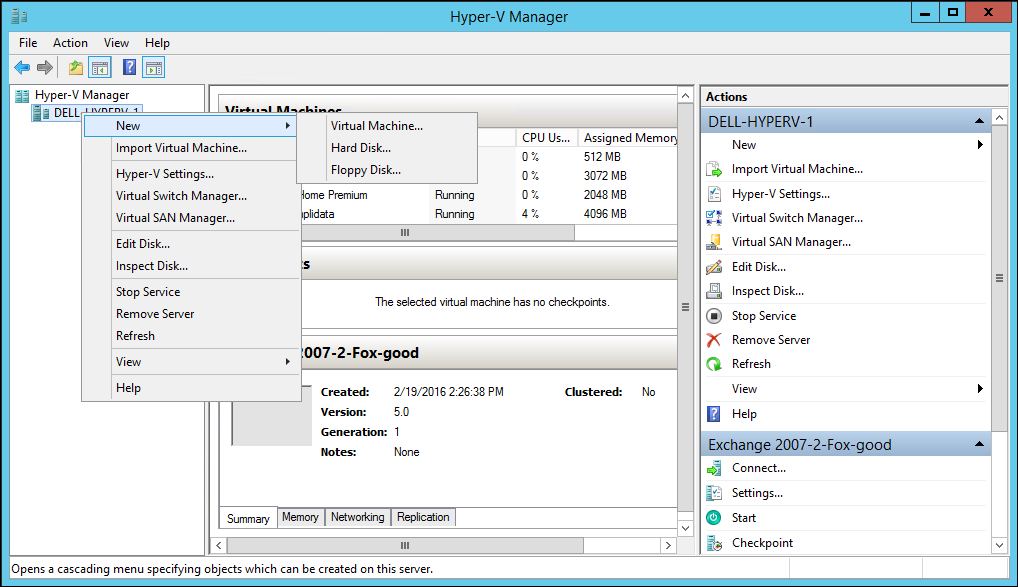
The New Virtual Machine wizard opens, displaying either the Before You Begin or the Specify Name and Location window.
If the Before You Begin window is displayed, click Next.

3 Provide a name for the virtual machine and if wanted, change the default location for the virtual machine.
4 Click Next.
5 Leave the default Generation 1 type virtual machine and click Next.
6 Leave the default Startup memory and click Next.
The Configure Networking window is displayed.

7 Select the network connection and click Next.
The Connect Virtual Hard Disk window is displayed.
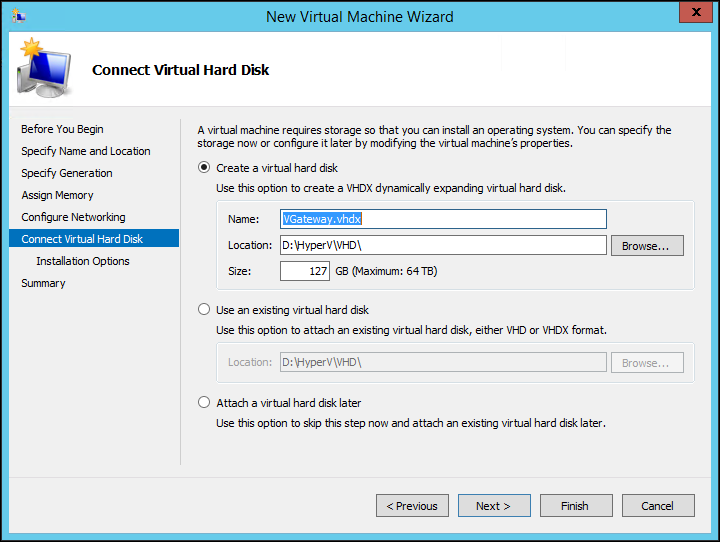
8 Select the Use an existing virtual hard disk option and browse to the location of the virtual gateway VHD file supplied by CTERA.
9 Click Next.
The Summary window is displayed.
10 Click Finish to complete the Virtual Gateway installation.
11 Right-click the Virtual Gateway and select Settings.
The configuration is displayed for the Virtual Gateway.

12 Select SCSI Controller and click Add to add a hard drive.
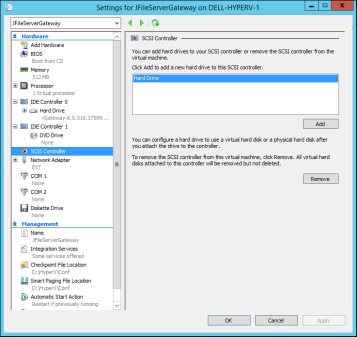
13 Click New.
The New Virtual Hard Disk Wizard is opens, displaying the Choose Disk Format window.

14 Choose the VHDX format and click Next.
The Choose Disk Type window is displayed.

15 If you are not likely to increase the disk size, choose Fixed size otherwise, choose Dynamically expanding.
Note: Using a dynamically expanding, thin provisioned, disk is initially very slow to format the disk in the gateway user interface.
16 Click Next.
The Specify Name and Location window is displayed.

17 Specify a name and location for the disk and click Next.
The Configure Disk window is displayed.

18 Specify the disk size. When configured as a Caching Gateway, CTERA recommends storage at least 20% of the Portal Global Name Space. The maximum storage is dependent on the license.
For an EV16 license the maximum is 16TB.
For an EV32 license the maximum is 32TB.
For an EV64 license the maximum is 64TB
For an EV128 license the maximum 128TB.
19 Click Next to review the disk details and then click and Finish.

20 Click Apply.
The disk is created.
21 Click Processor to set the number of virtual processors for the gateway.
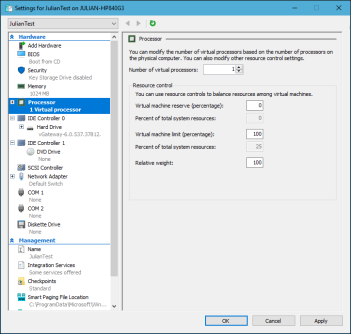
The maximum number is dependent on the company policy and the virtual gateway license:
For an EV16 license the maximum number of processors is 4.
For an EV32 license the maximum number of processors is 8.
For an EV64 license the maximum number of processors is 16.
For an EV128 license the maximum number of processors is 32.
22 Click OK.
23 Start the virtual machine and open the console to get the IP address assigned to it.
The console is displayed.
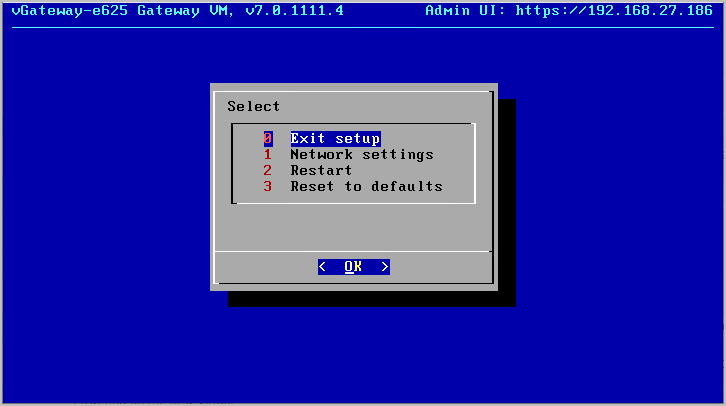
Note: The console might have other options.
The IP address for the gateway is displayed in the top right of the console. You use this IP address to access the gateway in a browser.
To set a static IP address:
1 Click in the console to transfer the keyboard control to the console and, if necessary, use the arrow keys to scroll to Network settings.
2 Press Enter.
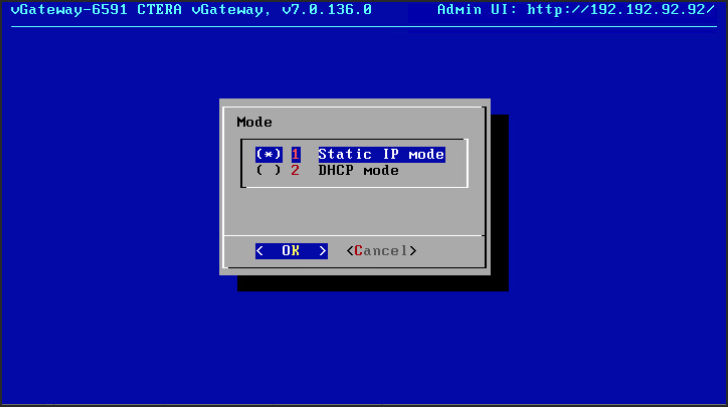
3 Select Static IP mode and press OK.
4 Complete the configuration for static mode by entering the static IP, netmask, default gateway IP and the primary and secondary DNS server IPs.
5 Press OK.