Importing the CTERA Portal OVF File
To install the CTERA Portal Server in VMWare vSphere:
1 Open the vSphere Web or Client console.
2 Select the ESXi host under which you want to run the CTERA Portal and click File > Deploy OVF Template.
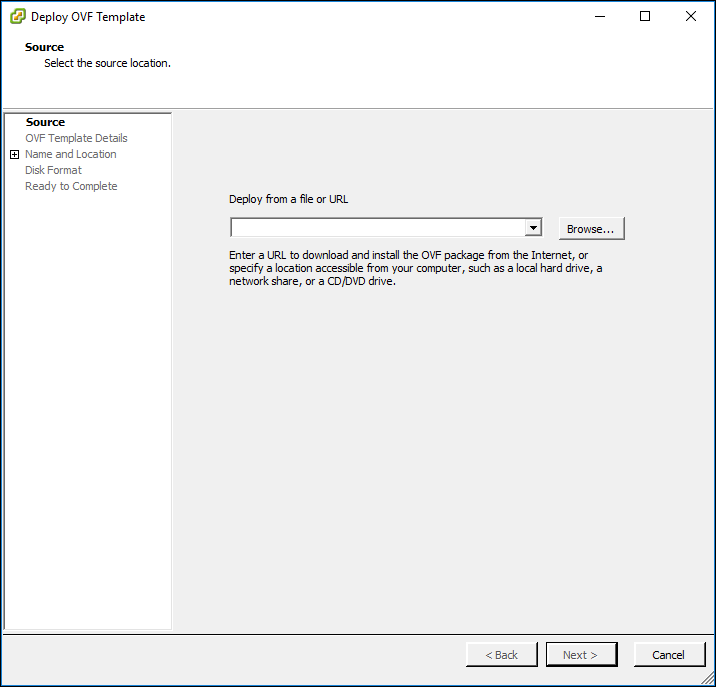
The Deploy OVF Template wizard opens, displaying the Source dialog box.
3 Click Browse, and browse to the CTERA Portal OVA file.
4 Click Next.
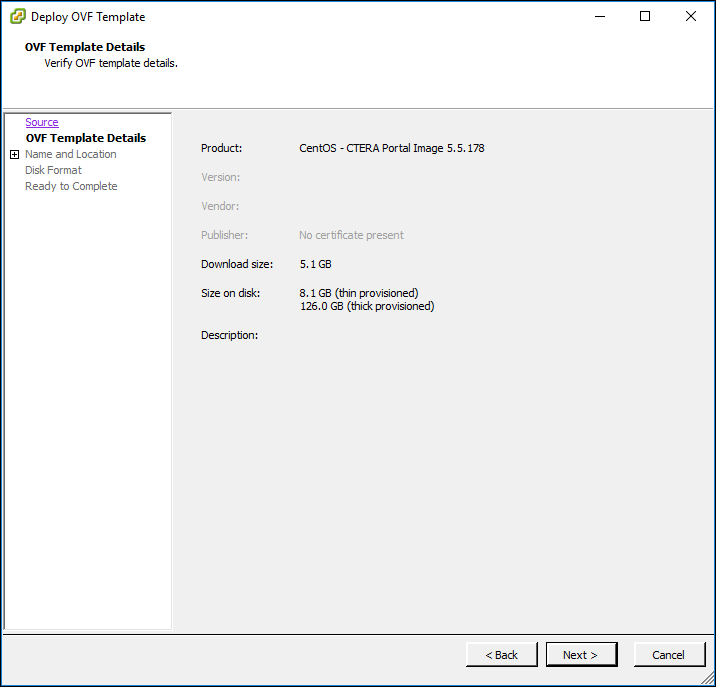
The OVF Template Details dialog box is displayed, with the CTERA Portal file details.
5 Click Next.
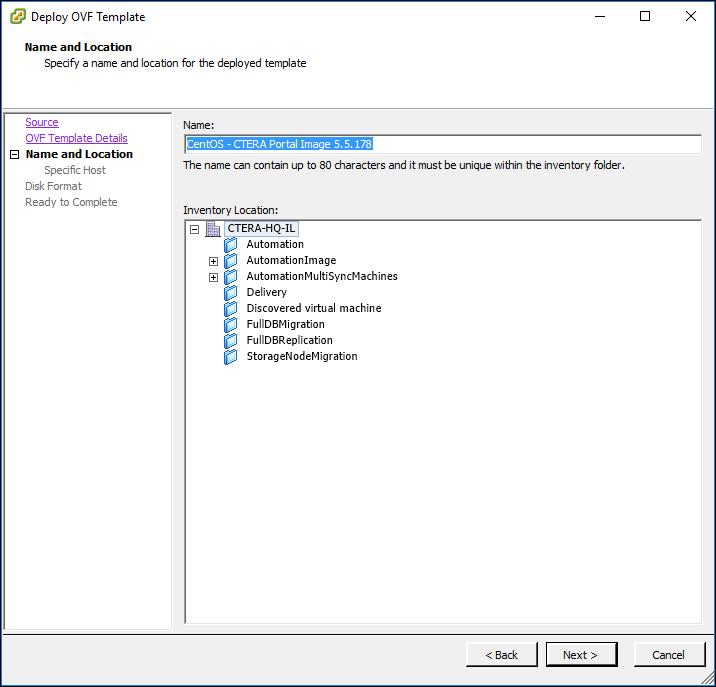
The Name and Location dialog box is displayed.
6 Specify the following:
Name – The name you want for the portal instance. The name can be up to 80 characters long.
Leave the Inventory Location as is.
7 Click Next.
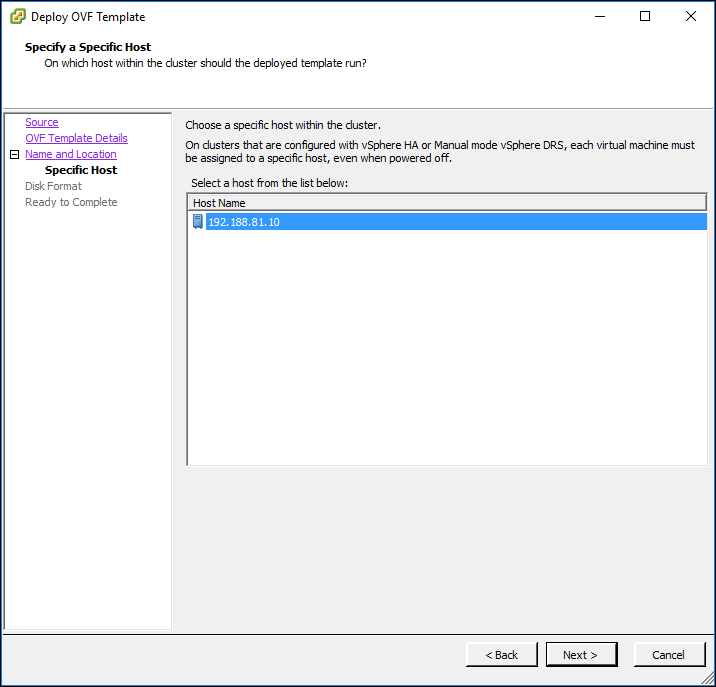
The Specify a Specific Host dialog box is displayed.
8 Select the host or cluster on which you want to deploy CTERA Portal.
9 Click Next.
Dependent on the environment, either the Resource Pool dialog box is displayed or the Storage dialog box is displayed. If the Resource Pool dialog box is displayed, you to select the resource pool within which you want to deploy CTERA Portal and click Next.
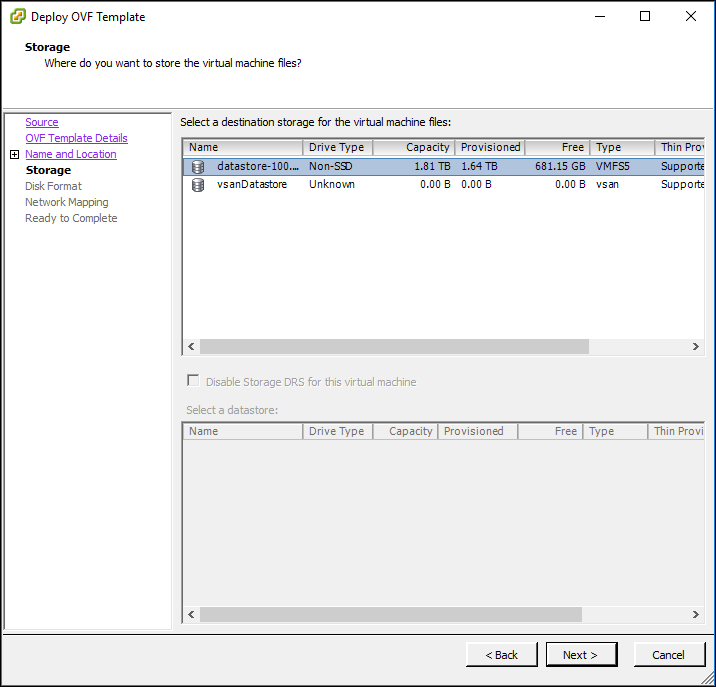
The Storage dialog box is displayed.
10 Select the VMware datastore in which to store the CTERA Portal virtual machine.
11 Click Next.
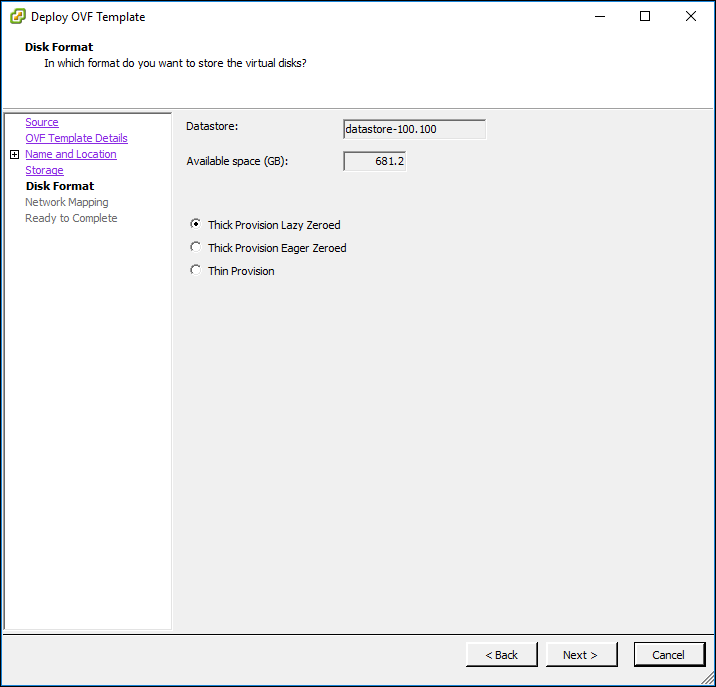
The Disk Format dialog box is displayed.
12 Select either Thick Provision Eager Zeroed or Thick Provision Lazy Zeroed according to your preference.
Thick Provision Lazy Zeroed – Creates a virtual disk in a default thick format. Space required for the virtual disk is allocated when the virtual disk is created. Data remaining on the physical device is not erased during creation, but is zeroed out on demand at a later time on first write from the virtual machine. Using the default flat virtual disk format does not zero out or eliminate the possibility of recovering deleted files or restoring old data that might be present on this allocated space.
Thick Provision Eager Zeroed – Creates a virtual disk that supports clustering features such as Fault Tolerance. Space required for the virtual disk is allocated at creation time. In contrast to the flat format, the data remaining on the physical device is zeroed out when the virtual disk is created. It might take much longer to create disks in this format than to create lazy zeroed disks.
13 Click Next.
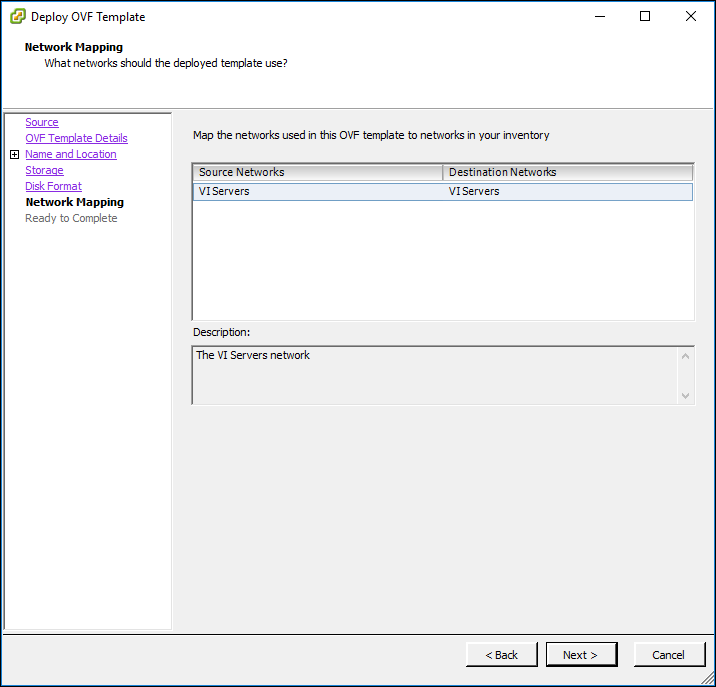
The Network Mapping dialog box is displayed.
14 Map the networks used in the OVF template to networks in your inventory.
15 Click Next.
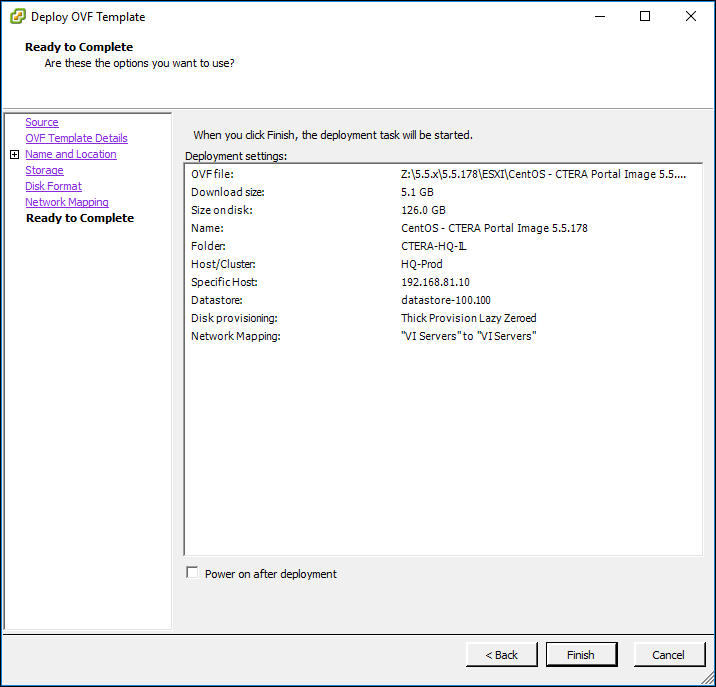
The Ready to Complete dialog box is displayed.
16 If you want the CTERA Portal to start up as soon as it is deployed, check the Power on after deployment check box.
17 Click Finish.
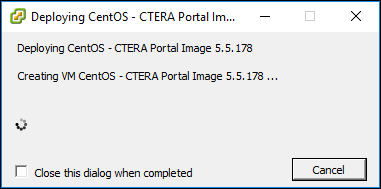
The Deploying dialog box is displayed, and CTERA Portal is installed as a virtual machine.
When installation is complete, a success message is displayed.
18 Click Close.
19 Start the CTERA Portal virtual machine, if it has not started as part of step
16.