Setting up Antivirus File Scanning
To set up antivirus scanning:
1 Activate the antivirus feature for specific virtual portals, using portal subscription plans.
a Select Provisioning > Plans from the navigation pane.
The Provisioning > Plans page opens, displaying all subscription plans.
b Edit a subscription plan to activate the antivirus feature: Select the desired subscription plan's row and then click Edit Plan.
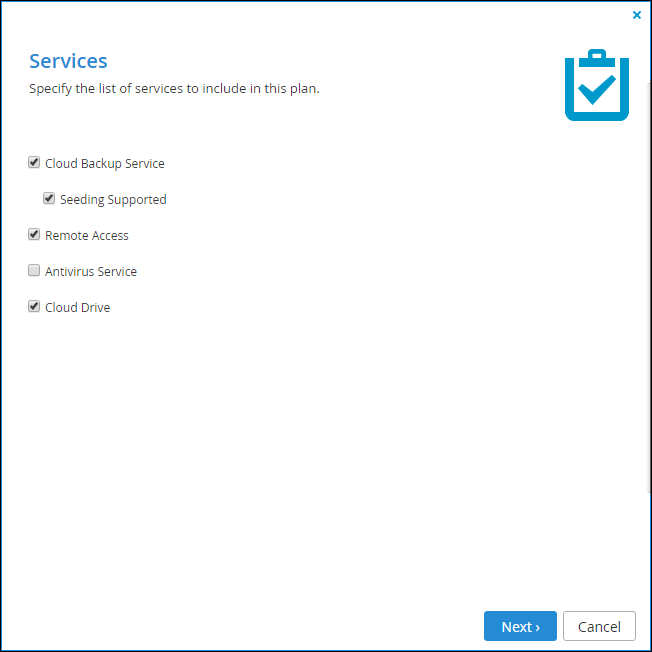
The Plan Details Wizard opens, displaying the Services dialog box.
c Check Antivirus Service to activate the antivirus feature and continue with the wizard to completion. When antivirus is activated, files are scanned for malware automatically and transparently, before they are downloaded for the first time. The Cloud Drive antivirus service requires an additional license.
2 Add servers running the supported antivirus server software, using the
Content Protection > Antivirus page in the global administration view. See
Adding or Editing Antivirus Servers.
3 Optionally, edit the email notifications that users receive when malware is detected. The email template is called Malware blocked and can be edited via the Settings > Email Templates page.