- Open the vSphere Client.
- Click File > Deploy OVF Template.
The Deploy OVF Template window opens displaying the Source dialog box.
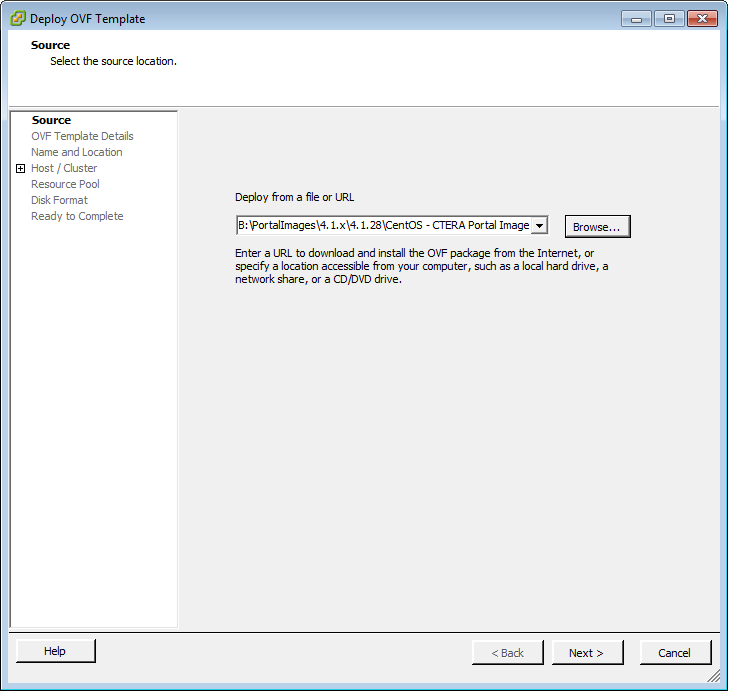
- Click Browse, and browse to the CTERA Portal OVF file.
- Click Next.
The OVF Template Details dialog box appear with the CTERA Portal OVF file's details.

- Click Next.
The Name and Location dialog box appear.
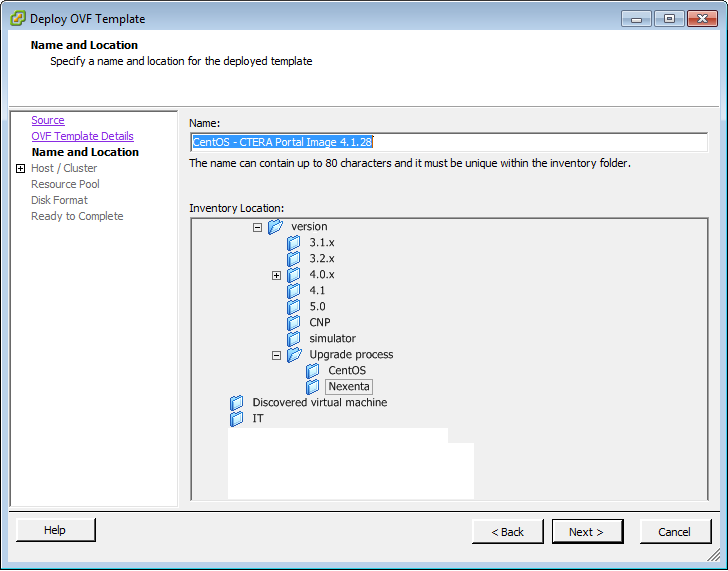
- In the Name field, type name for the portal instance.
The name can be up to 80 characters long.
- Click Next.
The Host / Cluster dialog box appears.
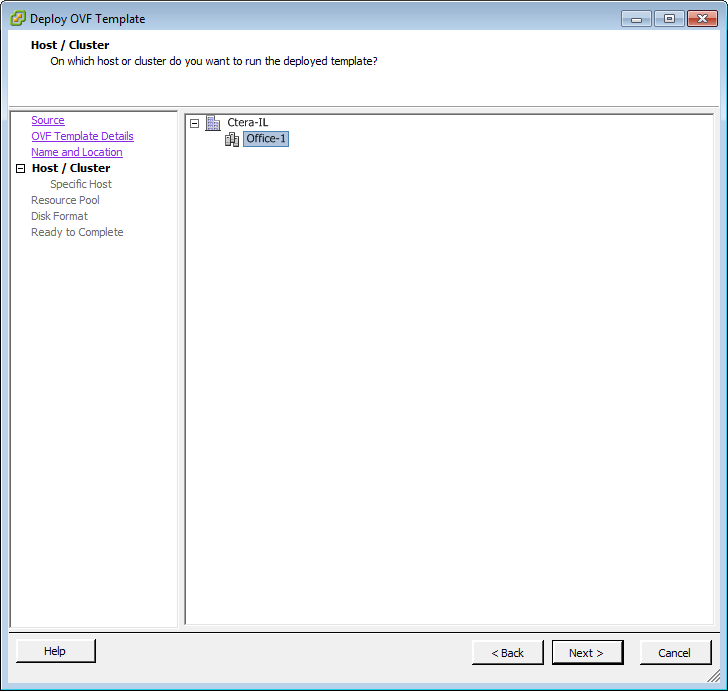
- Select the host or cluster on which you want to run the deployed template.
- Click Next.
The Storage dialog box appears.
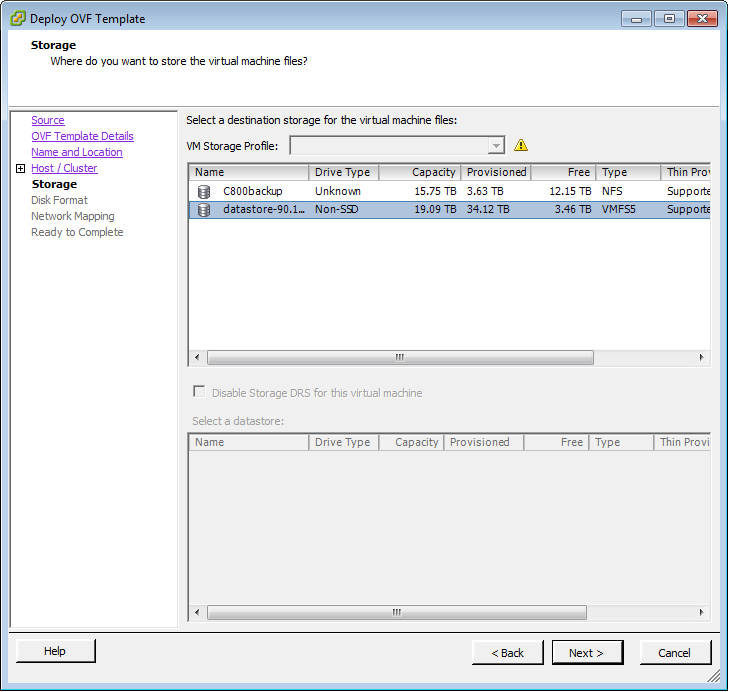
- Select the VMWare datastore in which to store the CTERA Portal virtual machine.
- Click Next.
The Disk Format dialog box appears.
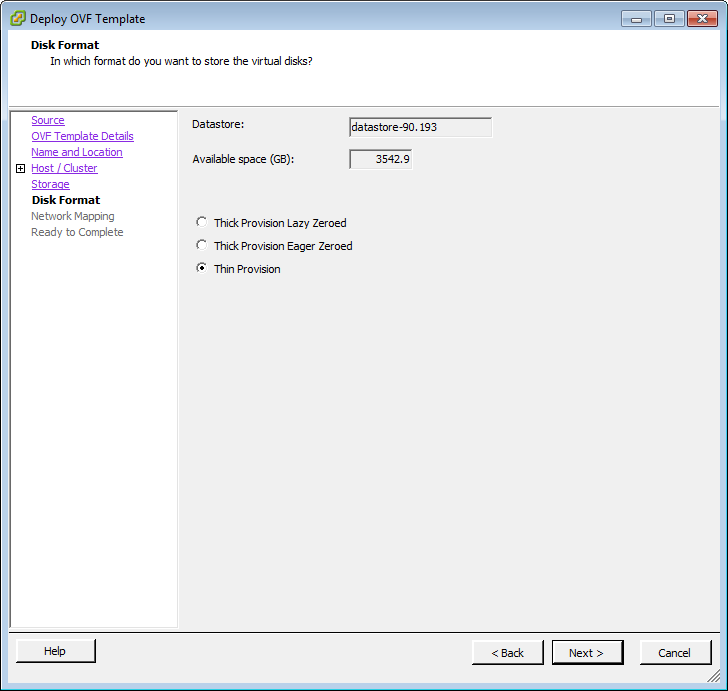
- Select either Thin Provision or Thick Provision Lazy Zeroed according to your preference.
- Click Next.
The Network Mapping dialog box appears.

- Map the networks used in the OVF template to networks in your inventory.
- Click Next.
The Ready to Complete dialog box appear.

- Click Finish.
The Deploying dialog box appears, and CTERA Portal is installed as a virtual appliance.
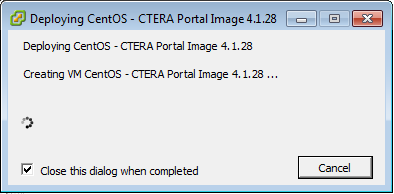
When installation is complete, a success message appears.
- Click Close.
- Start the CTERA Portal virtual machine.