Book Contents

Book Index

Configuring Advanced Cloud Drive Synchronization Settings

You can specify which local folder should be synchronized with the cloud drive, as well as how conflicts between file versions should be handled.

To configure advanced cloud drive synchronization settings

  1. In the Configuration tab's navigation pane, click Cloud Services > Cloud Drive.

    The Cloud Services > Cloud Drive page appears.

  2. Click Settings.

    The Cloud Drive Settings window opens displaying the Select Folders tab.

  3. Click the Advanced tab.

    The Advanced tab appears.

    Linked Picture File

  4. Expand the tree nodes and select the local folder under which folders should be created for each portal cloud folder you chose for synchronization.

    For information on choosing portal cloud folders for synchronization, see Selecting Cloud Folders for Synchronization.

  5. (Optional) To create a new folder, do the following:
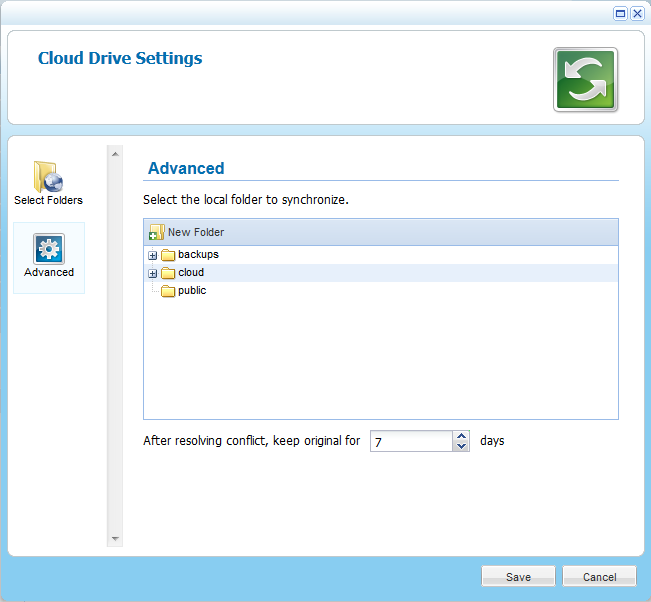
    1. In the tree, select the parent folder in which you want to create the new folder.
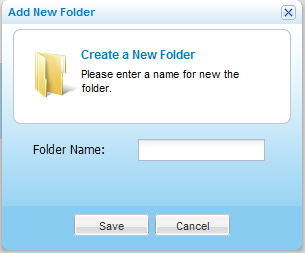
    2. Click New Folder.

      The Create a New Folder dialog box opens.

      Linked Picture File

    3. In the Folder Name field, type a name for the folder.
    4. Click Save.

      A new folder is added to the selected parent folder.

  6. In the After resolving conflict, keep original for field, use the arrow buttons to specify the number of days that the appliance should retain the original version of a file that was independently modified on more than one replica.

    After this time, the conflicting copies are deleted. Conflicting copies are stored in the conflicts trashcan folder, .conflicts.

  7. Click Save.

See Also

Suspending/Unsuspending Cloud Drive Synchronization

Selecting Cloud Folders for Synchronization

Viewing Cloud Drive Synchronization Status