Installing CTERA Agent in VDI mode
This section describes how to install and run CTERA Agent in Virtual Desktop Interface (VDI) mode. The CTERA Agent VDI enables you to utilize existing VDI infrastructures, both persistent and non-persistent, by mapping a network drive to the user's data located on the CTERA Portal. CTERA Agent VDI mode enables the user to access all of their data located on the CTERA Portal over the network, without any need to store the data locally, therefore allowing the virtual dynamic desktops to remain lightweight.
Using CTERA Agent in VDI mode involves the following:
Enabling VDI Mode
In order to enable VDI on the machine that will run the agent, it is necessary to load an administrative template (ADM) in the Windows Group Policy Management Editor running on Windows Active Directory.
The following procedure describes installation using a Windows 2012 Active Directory domain. It is similar for Windows Server 2008.
To enable VDI mode:
1 Obtain the ctera-vdi.adm file from CTERA Support.
2 Open the Windows Group Policy Management console.
3 Create a new GPO or edit an existing GPO for which you would like to enable VDI mode.
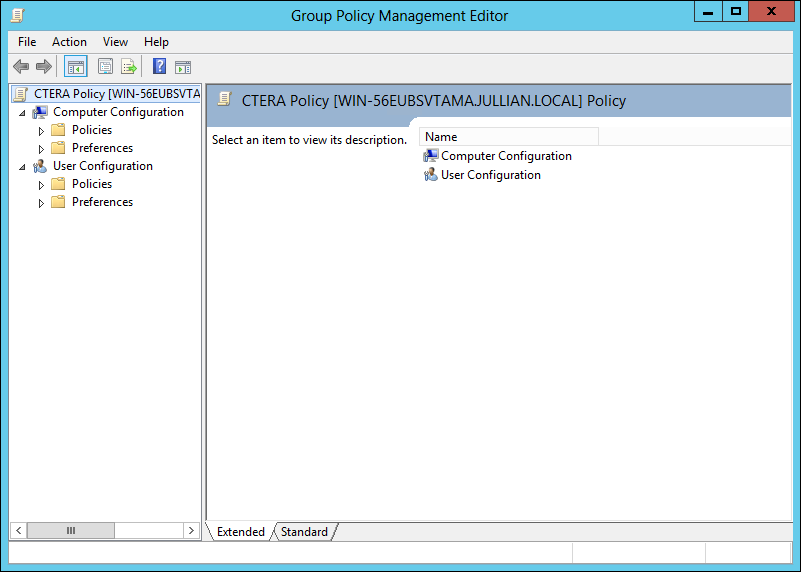
4 Right-click the policy and select Edit.
The Group Policy Management Editor is displayed.
5 In the navigation pane, expand Computer Configuration > Policies > Administrative Templates, right-click Administrative Templates and select Add/Remove Templates.
The Add/Remove Templates window is displayed.
6 Click Add, browse to the ctera-vdi.adm file, select it and click Open.
The ctera-vdi.adm file is displayed in the Add/Remove Templates window.
7 Click Close.
8 In the navigation pane, expand Computer Configuration > Policies > Administrative Templates > Classic Administrative Templates and click the CTERA Agent Settings node.
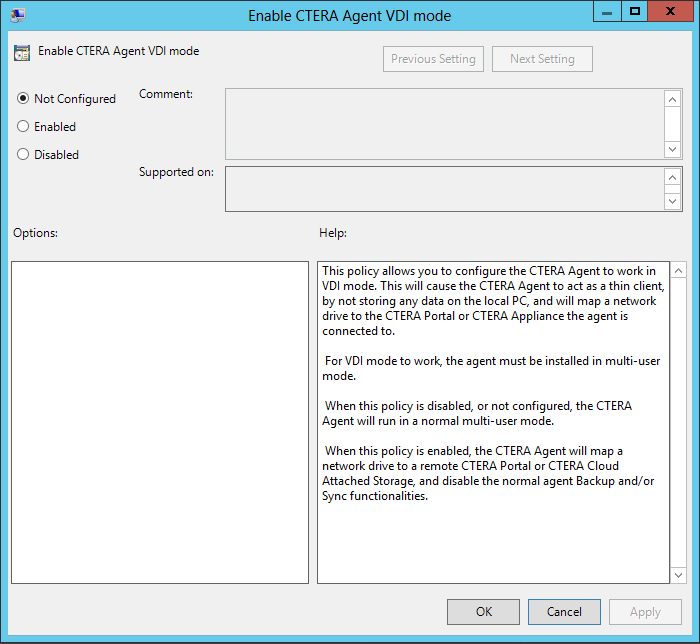
9 Double-click Enable CTERA Agent VDI mode.
The Enable CTERA Agent VDI mode dialog box is displayed.
10 Choose the Enabled option.
11 Click OK.
VDI mode is enabled.
Installing the CTERA Agent
The CTERA Agent can be installed manually or deployed remotely from a centralized location. The following procedure explains how to install the CTERA Agent manually.
To install CTERA Agent:
1 Double-click the CTERA Agent installation file. The CTERA Agent Setup Wizard opens.
2 Select one of the following:
• Standard. A single Agent configuration will be shared by all users of the computer. Only users who have “Backup Operator” permission can configure the Agent and perform backup and restore operations.
• Multi-User. The Agent is installed separately for each user the first time the user logs in to the computer.
• Each user has an independent Agent configuration, and can connect to a different Cloud Storage Gateway or CTERA Portal than the other users.
• Each user has permission to manage their own Agent and can perform backup and restore operations for any files for which they have read/write permissions.
• Each user’s Agent remains connected to the cloud and continues to perform its scheduled backups and synchronizations in the background, even when the user is not logged in.
3 Click Next. Read and agree to the End User License Agreement and then continue to click Next and enter relevant information until the installation starts.
4 When the installation is complete, click Close.
An icon

is installed in the Windows taskbar. The
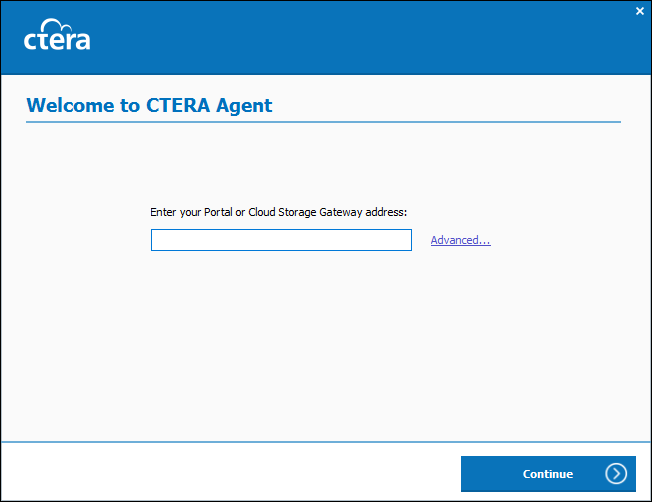
Welcome to CTERA Agent window is displayed.
5 Enter the portal IP address.
6 Click Continue.
The window to specify the username and password is displayed.
7 In the Username and Password fields, type your user name and password for accessing the portal web interface, and click Sign in.
The CTERA Agent connects to the portal. The CTERA Agent icon changes to

.
8 Click Sign in.
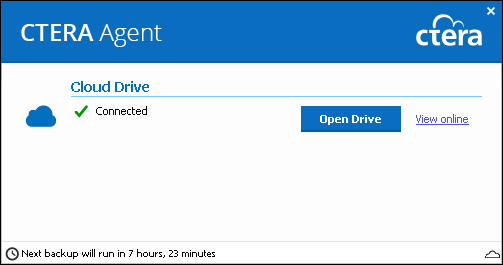
The CTERA Agent connects to the CTERA Portal and maps a local drive on the desktop to the CTERA Portal.
Once connection and mapping are completed successfully, the CTERA Agent window displays the Cloud Drive's status as Connected.
Note: The agent uses HTTPS (port 443) to map the local drive to the CTERA Portal. Therefore, TCP port 443, outbound, must to be accessible on the CTERA Portal. If it is not, then the Cloud Drive's status will be Not connected to Portal.
995 TCP, outbound, is also required. This is a management connection the agent maintains with the CTERA Portal.
The mapping is established via HTTPS. Therefore, the security certificate installed on the CTERA Portal must be trusted by the PC. If it is not, then the Cloud Drive's status will be Not connected to Portal.
Using the CTERA Agent in VDI Mode
To use CTERA Agent to access data on the CTERA Portal:
• In the CTERA Agent window, click on Open Drive.
The mapped drive opens in Windows Explorer, and you can work directly with your data on the CTERA Portal.