Installing the CTERA HC400E
In this section
Setting Up the HC400E
To set up the HC400E:
1 Connect the ends of the Ethernet cables to the Ethernet ports, Gb1 and Gb2, at the back of the HC400E and connect the other ends to your Ethernet LAN switch.

2 Connect a monitor to the back of the HC400E via the VGA port.
3 Connect the HC400E to power using the provided power supply cable in the AC power input socket.
The HC400E automatically starts up. After the startup finishes, the ESXi server management IP address is displayed.
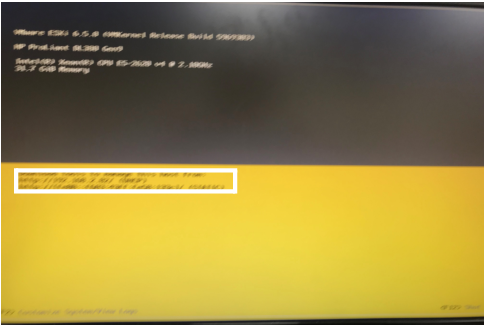
4 Record the ESXi server management IP address for use to get the HC400E IP address, described in Configuring the HC400E Gateway.
Note: The ESXi hypervisor cannot be managed in a VMware vCenter.
Configuring the HC400E Gateway
You access the VMware Host Client to get the HC400E IP address. You can access the VMware Host Client from any computer with LAN access.
Note: The ESXi hypervisor cannot be managed in a VMware vCenter.
To get the HC400E IP address:
1 In any browser enter the ESXi server management IP address to open the VMware Host Client.
user name: root
Password: CTERA123!
2 On first access, change the password.
a Click the down arrow to the right of the root user and select Change password.

b In the Change password window that is displayed, enter the new password, confirm it and click Change password.
3 Under Virtual Machines in the left-hand navigation pane, right-click the CTERA HC400E virtual machine and select Console > Open browser console from the popup menu.
The console is displayed.
Note: The console might have other options.
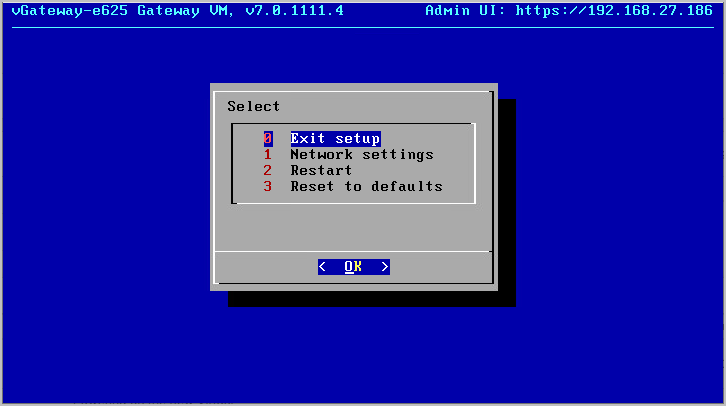
The IP address for the Virtual Gateway is displayed in the top right of the console. You use this IP address to access the gateway in a browser.
To set a static IP address:
1 Click in the console to transfer the keyboard control to the console and, if necessary, use the arrow keys to scroll to Network settings.
2 Press Enter.
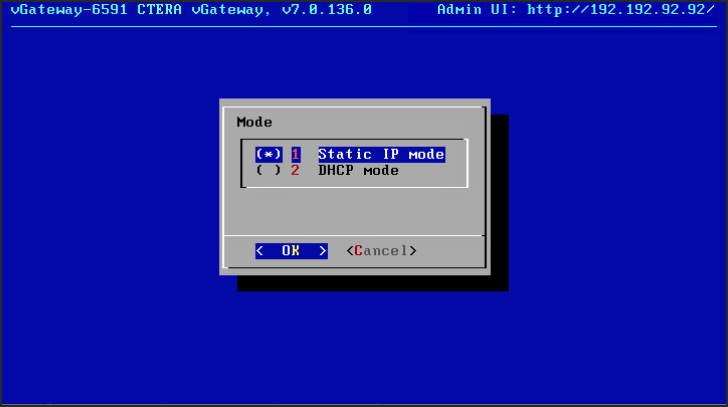
3 Either set a static IP or select DHCP mode and press OK.
4 Complete the configuration based on the mode you selected.