Managing CTERA Portal Servers
Enabling/Disabling Remote Support
You can enable remote assistance by the CTERA support team, by using the ctera-support.sh script. This script adds a user called "support", which the CTERA Support Team can uses to remotely access and log in to your CTERA Portal. In addition, see the details at http://www.ctera.com/supportaccess.
To enable remote support:
1 Open an SSH session to the CTERA Portal instance.
2 Log in as root user.
3 In the command line, enter the following command: ctera-support.sh enable
The support user is created.
To disable remote support:
1 Open an SSH session to the CTERA Portal instance.
2 Log in as root user.
3 In the command line, enter the following command: ctera-support.sh disable
The support user is deleted.
Extending the CTERA Main Database or Catalog Node Storage Pool
To extend the CTERA main database or catalog node storage pool:
1 For each CTERA Portal instance you have installed, stop CTERA services, by doing the following:
a Open an SSH session to the CTERA Portal instance.
b Log in as root user.
c Run the following command to stop the CTERA Portal services.
ctera-portal-manage.sh stop
2 Attach a VMDK drive to the CTERA Portal server, by doing the following:
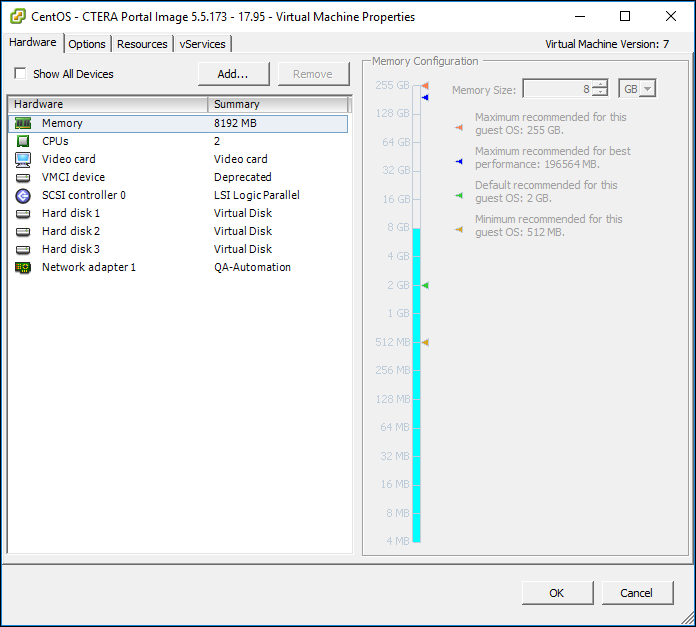
a In the vSphere Client console, right-click the CTERA Portal virtual machine and click Edit Settings.
The virtual machine settings are displayed.
b In the Hardware tab, click Add.
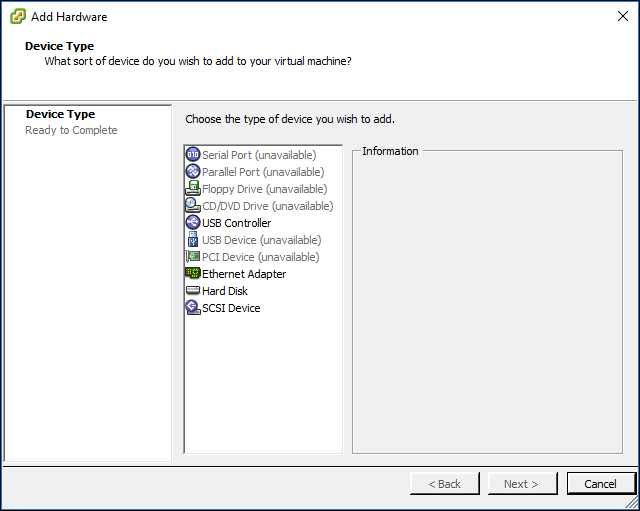
The Add Hardware wizard opens, displaying the Device Type dialog box.
c Choose Hard Disk and click Next.
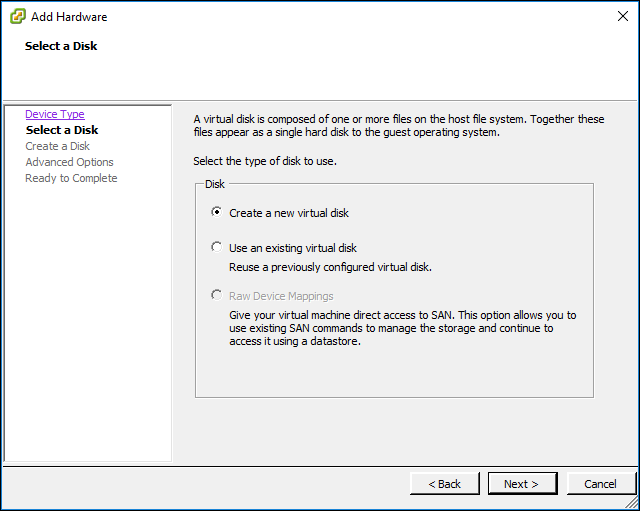
The Select a Disk dialog box is displayed.
d Choose Create a new virtual disk and click Next.
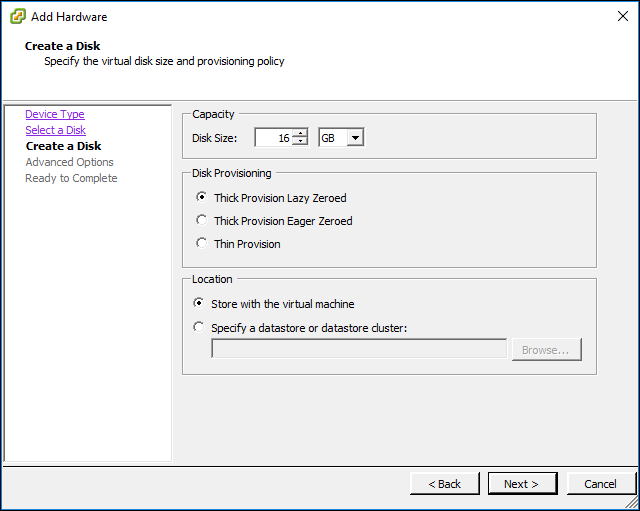
The Create a Disk dialog box is displayed.
e Specify the disk size you want for the new disk.
Note: By default, the VMDK will be stored with the virtual machine. If you prefer to store the VMDK on an alternate datastore, choose Specify a datastore or datastore cluster, click Browse, and select the relevant datastore.
f Click Next.
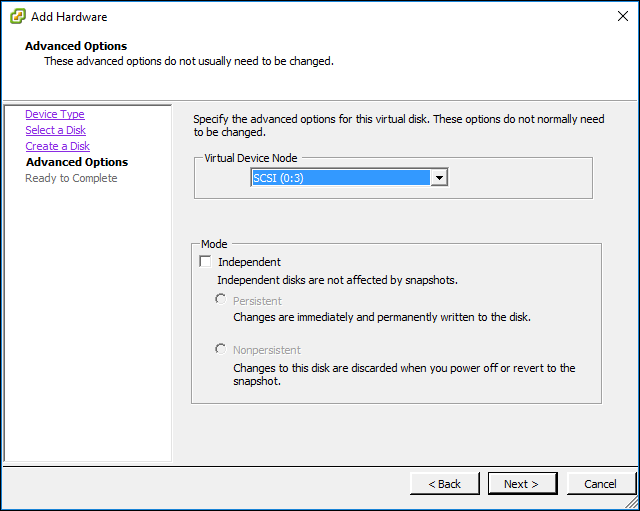
The Advanced Options dialog box is displayed.
g Click Next.
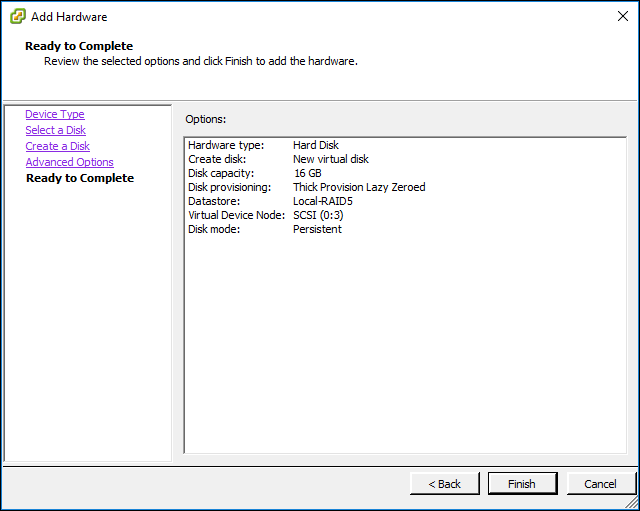
The Ready to Complete screen is displayed, summarizing the details for the new disk.
h Click Finish.
The new VMDK hard disk is added.
Note: In certain cases, you may be required to reboot the CTERA Portal server in order for the new VMDK drive to be identified.
3 Extend the CTERA Portal storage pool, by doing the following:
a Log in as root user to your CTERA Portal server over SSH.
b Run the following command to identify the name of the device you attached: fdisk –l
Locate the device name according to its size and usage information.
c Run the following command to stop the portal services: ctera-portal-manage.sh stop
d Run the following command to extend the CTERA Storage Pool:
ctera-storage-util.sh extend_storage deviceName
Where deviceName is the device name copied in the previous step.
The main database or catalog node storage pool is extended.
4 To view the storage pool size, run the following command: df –h /usr/local/lib/ctera
5 For each CTERA Portal instance you installed, starting from the CTERA Portal main database and catalog node and proceeding to the application servers, start CTERA Portal services by doing the following:
a Log in as root user to each CTERA Portal server over SSH.
b Run the following command to start the portal services: ctera-portal-manage.sh start
Warning: The minimum retention period recommended by CTERA is 7 days. If you set the retention period to less than 7 days, you must also have a secondary backup method in order to protect the portal from disasters.