Importing the Seeding Drive
You can import a portable seeding hard drive by mounting it on a local NFS server and running the Seeding wizard.
Note: The details of the NFS server on which you mount your seeding drive must be added to the portal by an administrator in the global administration view before you can import the seeding drive. See
Managing Seeding Stations.
To import a seeding hard drive:
1 Mount your portable seeding hard drive on a locally accessible NFS server.
2 Log into the staff control panel of the CTERA reseller portal to which you want to import the drive data.
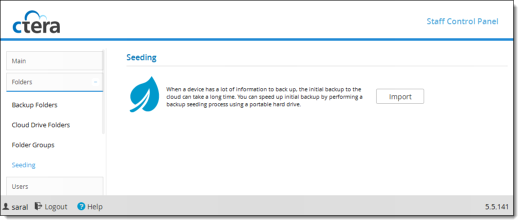
3 In the navigation pane, click Folders > Seeding.
The Folders > Seeding page is displayed.
4 Click Import. The Seeding wizard is displayed.
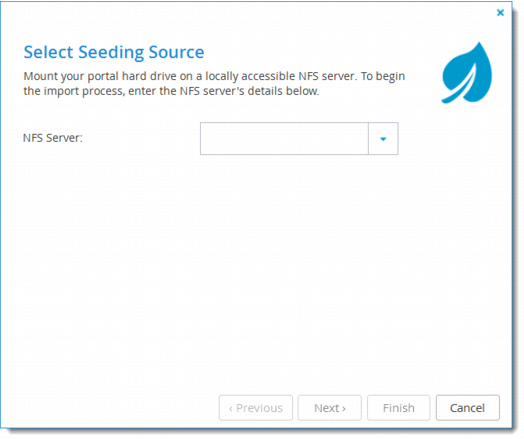
5 From the NFS Server dropdown list, select the NFS Server on which you mounted your seeding drive.
6 Click Next.
A confirmation screen is displayed.
7 Click Next.
Files are imported from the seeding hard drive, and the Importing Files window opens displaying Running screen with a progress bar that tracks the operation's progress.
To stop the process, click Stop. To close the progress bar, while the process continues in the background, click Continue in Background.
When the operation is complete, the Completed screen is displayed.
8 Click Close.