Preparing for Seeding
You only need to perform this step once, in order to prepare the seeding station and the seeding hard drives.
To prepare for seeding:
1 Connect the seeding station (a CTERA Cloud Storage Gateway) to the CTERA Portal's LAN.
2 Log in to the seeding station's Web interface.
3 Disable autosharing, by doing the following:
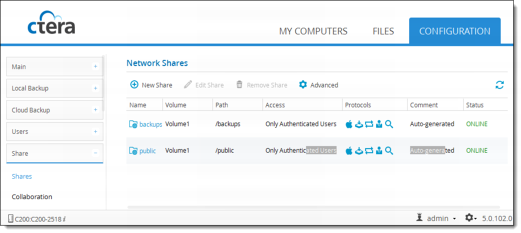
a In the Configuration tab's navigation pane, click Share > Shares.
The Share > Shares page is displayed in the seeding station's Web interface.
b Click Advanced.
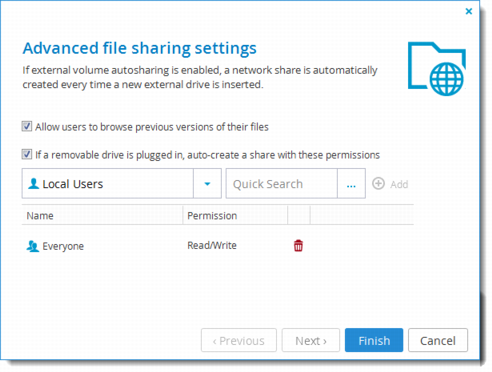
The Advanced file sharing settings dialog box opens.
c Clear the If removable drive is plugged in, auto-create share with these permissions check box.
d Click Finish.
4 Take the seeding hard drive and connect it to the seeding station.
5 Format the seeding hard drive, by doing the following:
a In the Configuration tab's navigation pane, click Storage > Arrays or Storage > Volumes.
The relevant page is displayed.
b Click Storage Setup Wizard.
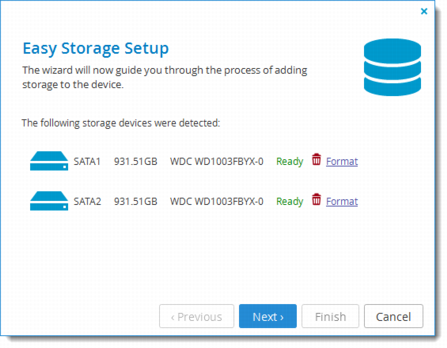
The Easy Storage Setup Wizard opens, displaying the Easy Storage Setup dialog box.
c Click Format next to the seeding hard drive.
A confirmation message is displayed.
d Click Yes.
The drive is formatted, and all of its contents are erased.
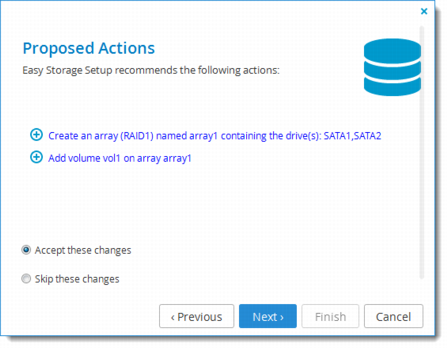
e Click Next.
The Proposed Actions dialog box is displayed describing the changes.
f Click Next.
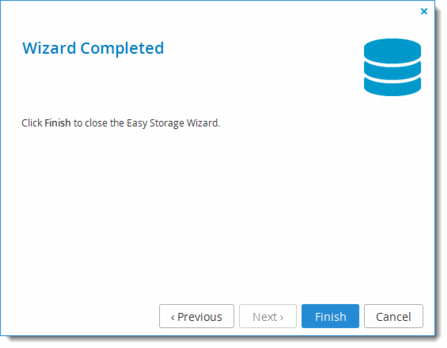
The Wizard Completed screen is displayed.
g Click Finish.
6 Rename the new volume to "seeding", by doing the following:
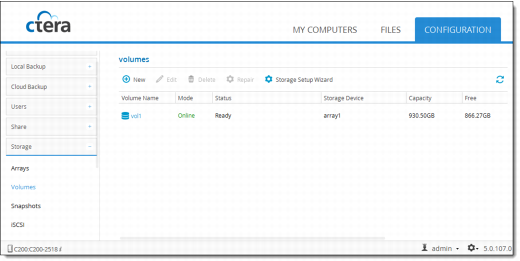
a In the Configuration tab's navigation pane, click Storage > Volumes.
The Storage > Volumes page is displayed.
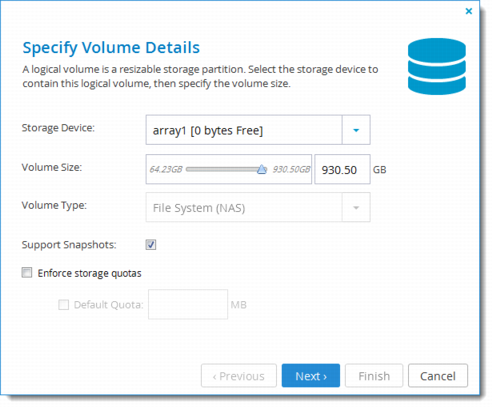
b Click on the new volume's name.
The Logical Volume Wizard opens, displaying the Specify Volume Details dialog box.
c Click Next.
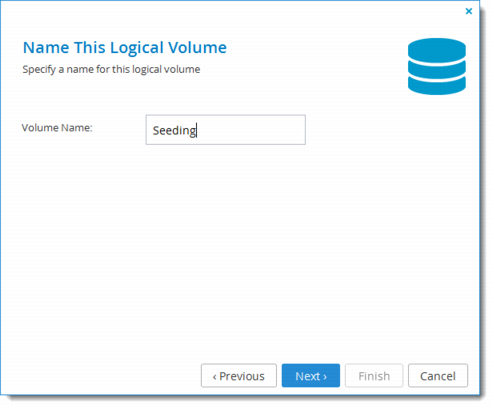
The Name this Logical Volume dialog box is displayed.
d In the Volume Name field, type "seeding".
e Click Next.
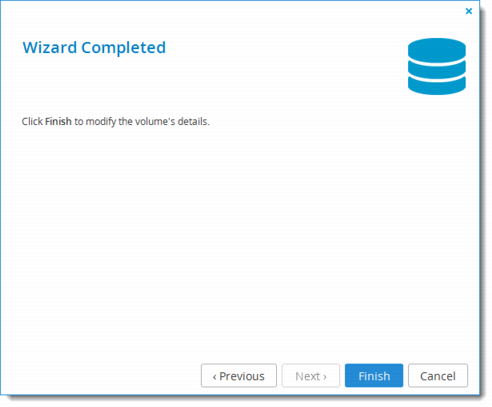
The Wizard Completed screen is displayed.
f Click Finish.
7 Create a new NFS-enabled share named "seeding" in the root of the "seeding" volume, by doing the following:
a In the Configuration tab's navigation pane, click Share > Shares.
The Share > Shares page is displayed.
b Click New Share.
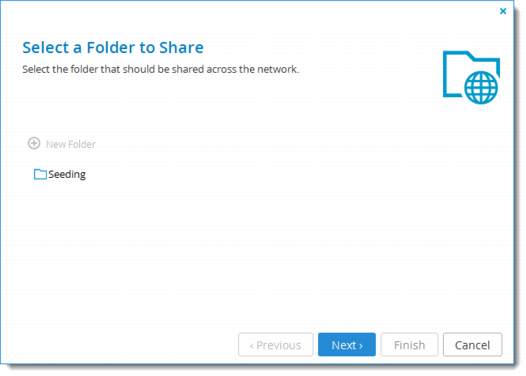
The Network Share Wizard opens, displaying the Select a Folder to Share dialog box is displayed.
c Select the "seeding" folder.
d Click Next.
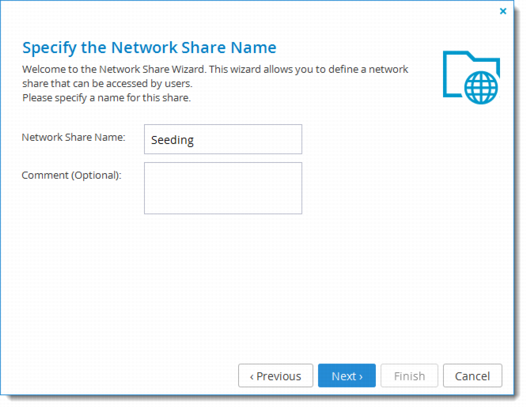
The Specify the Network Share Name dialog box is displayed.
e In the Network Share Name field, type "seeding".
f Click Next.
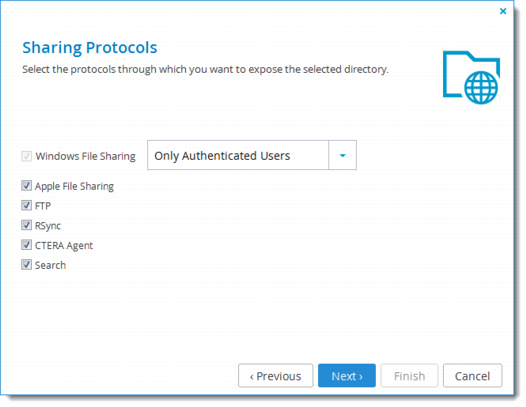
The Sharing Protocols dialog box is displayed.
g Click Next.
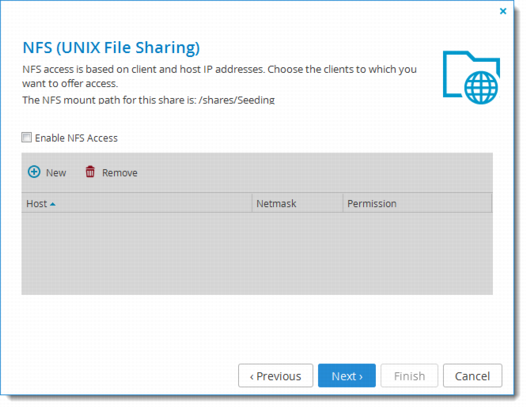
The NFS (UNIX File Sharing) dialog box is displayed.
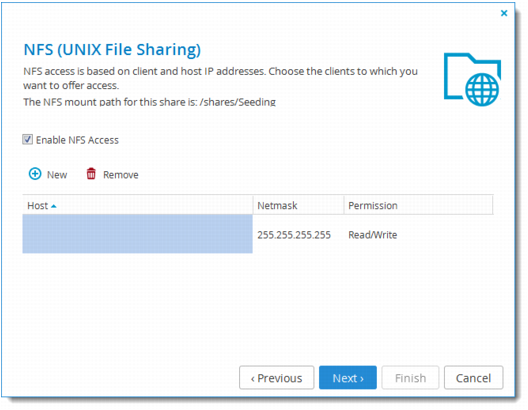
h Select the Enable NFS access check box.
i Add the CTERA Portal server's IP addresses as NFS clients, by doing the following:
i Click New.
A new row is displayed in the table.
ii Click in the Host column and type the IP address.
iii Click in the Netmask column and edit the netmask.
iv Click in the Permission column and select the permitted level of access to the network share via NFS.
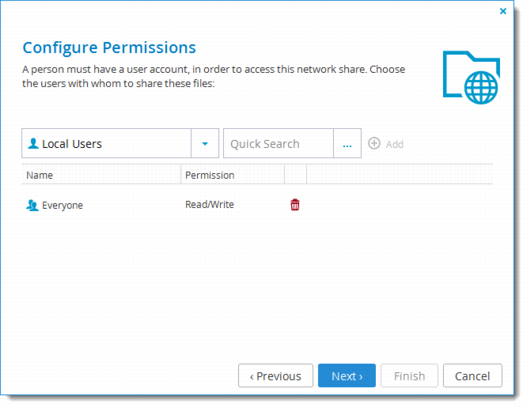
j Click Next.
The Configure Permissions dialog box is displayed.
k Click Next.
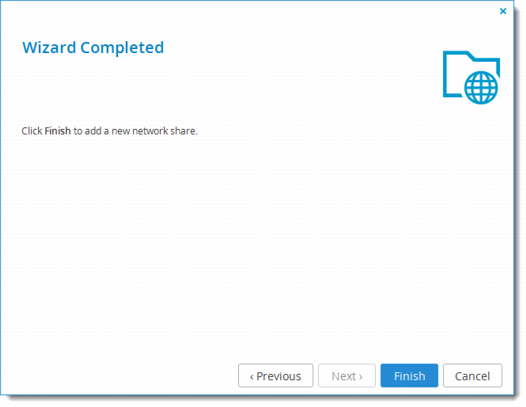
The Wizard Completed screen is displayed.
l Click Finish.
The network share is added.
8 Ship the seeding hard drive to the customer premises.