Creating a Portal Instance
To install the CTERA Portal Server in Azure:
1 Log in to your Azure portal.
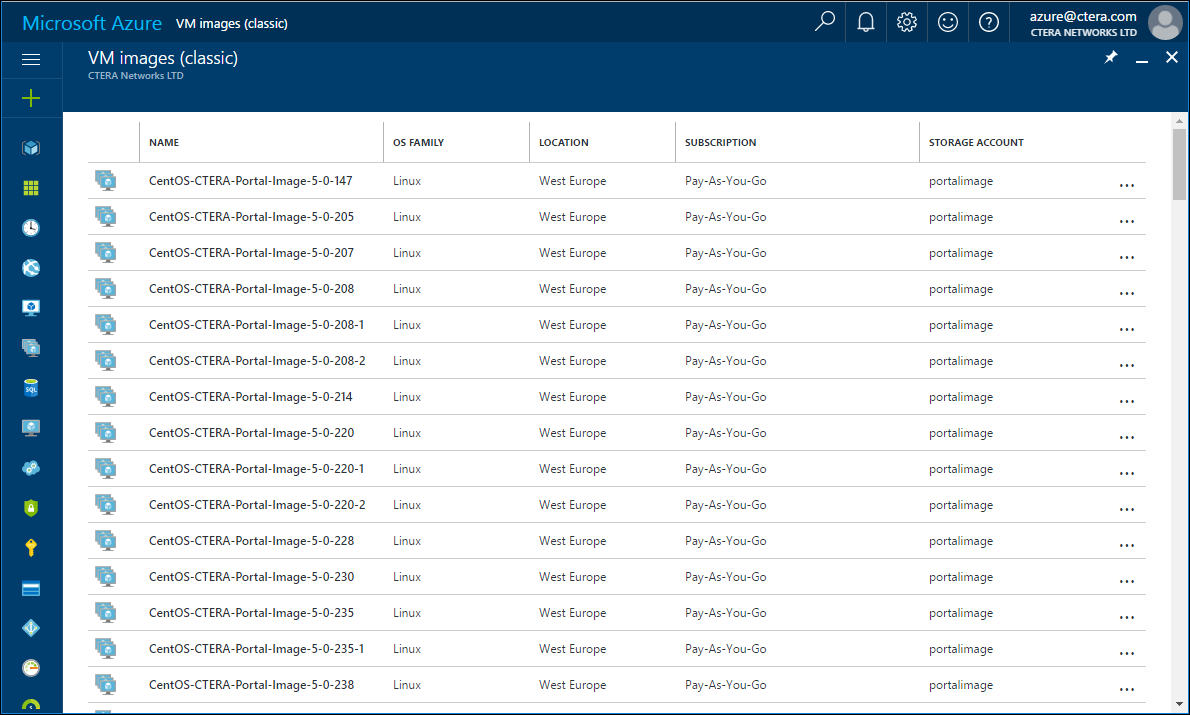
2 Click VM images (classic) to display the portal image.
3 Select the image provided by CTERA.
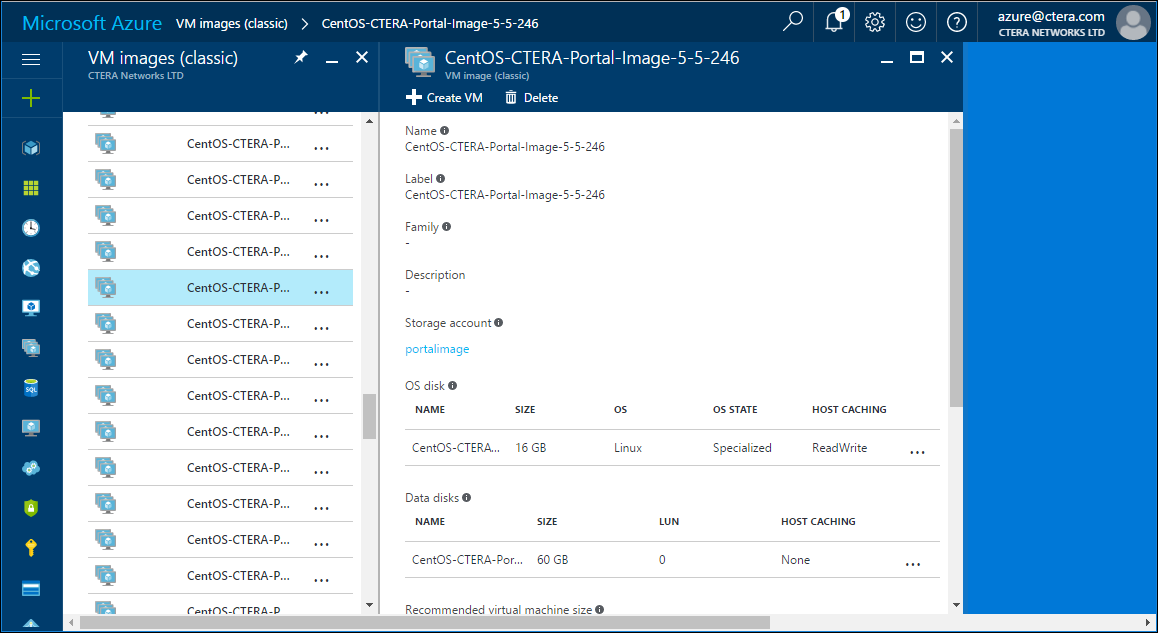
The image details are displayed.
4 Click Create VM.
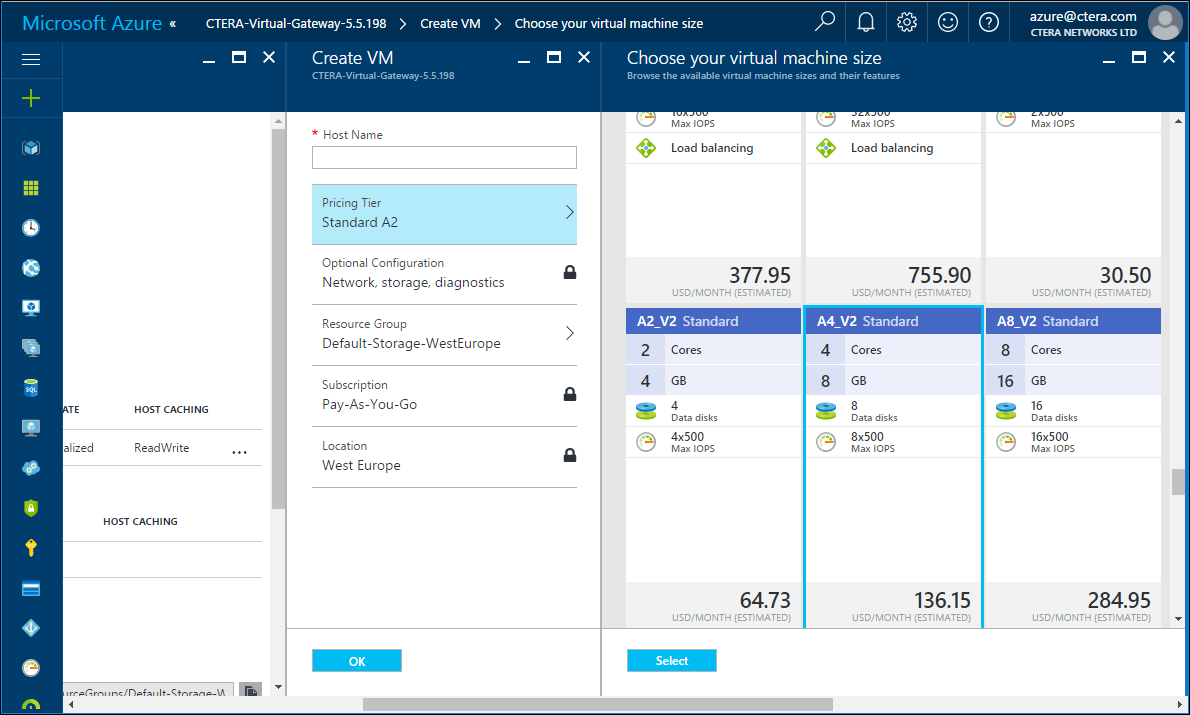
The Create VM pane is displayed.
5 Specify the Host Name to uniquely identify the virtual machine.
6 Click Pricing Tier to display the Azure virtual machine size.
The portal is supported on Standard_A4_V2 virtual machines and higher.
7 Select the size you want and click Select.
The virtual machine is created.
8 In the Create VM pane click OK.
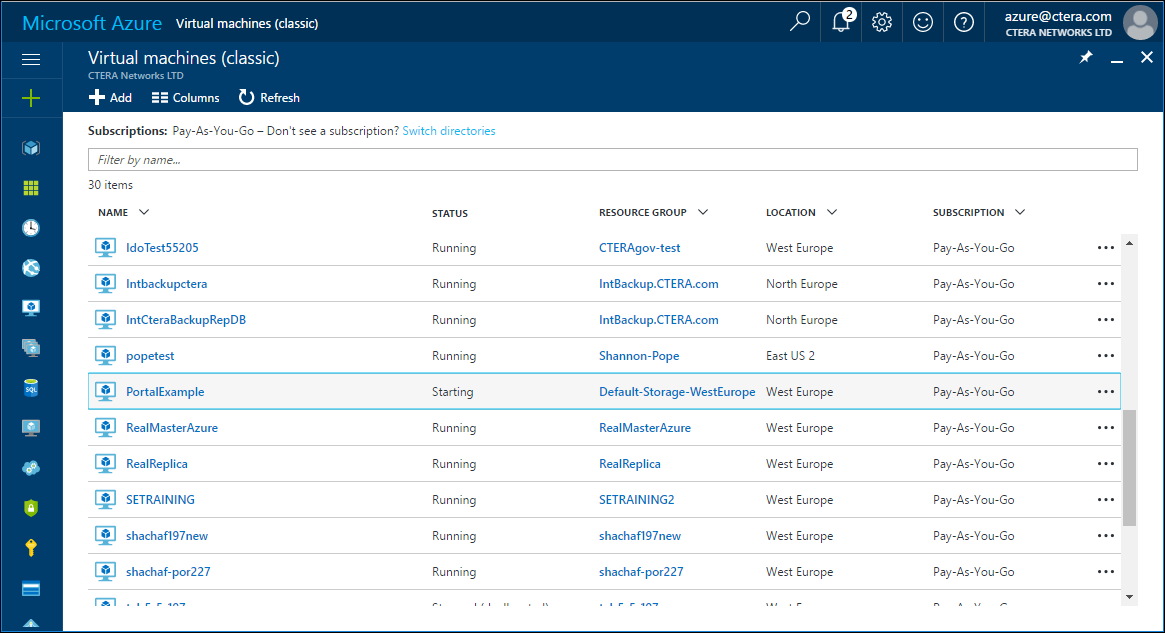
9 In the main Azure portal menu, click Virtual machines (classic) to display the new portal virtual machine.
The machine is started up automatically. When the process has completed the Status changes to Running.
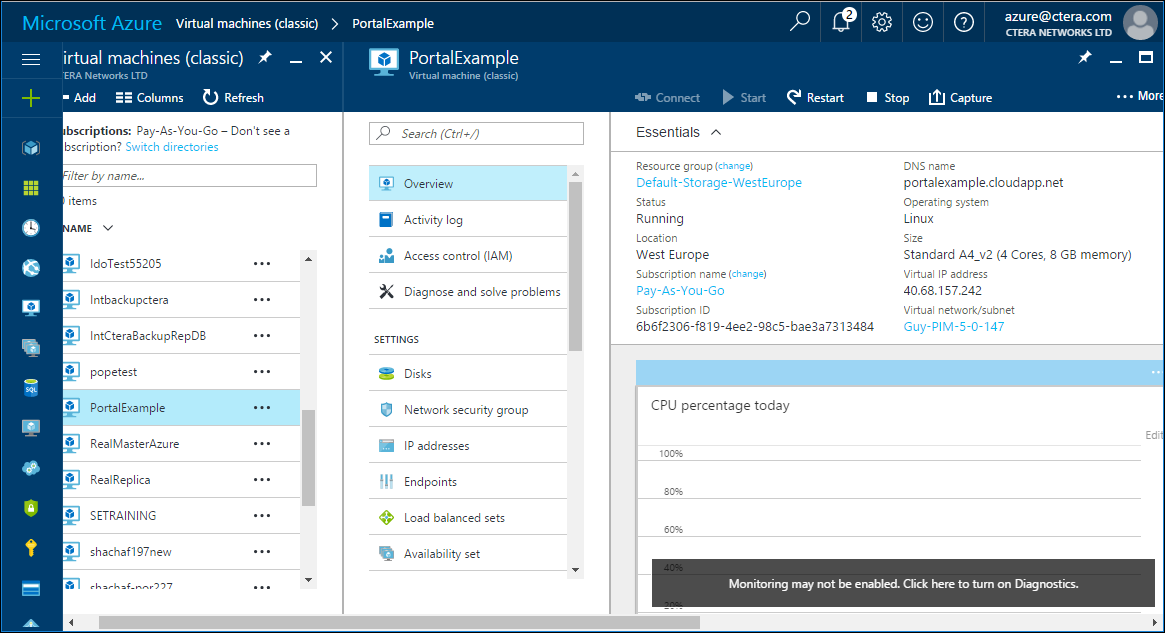
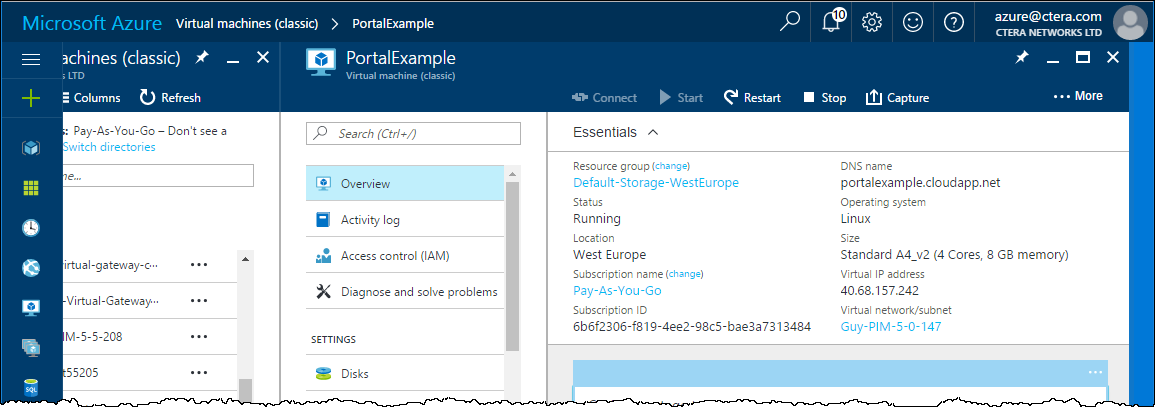
10 Click the virtual machine to display its details.
The virtual machine comes with two default disks. One is used for root, and the second disk is used to store your CTERA database.
11 Click the virtual machine to display its details.
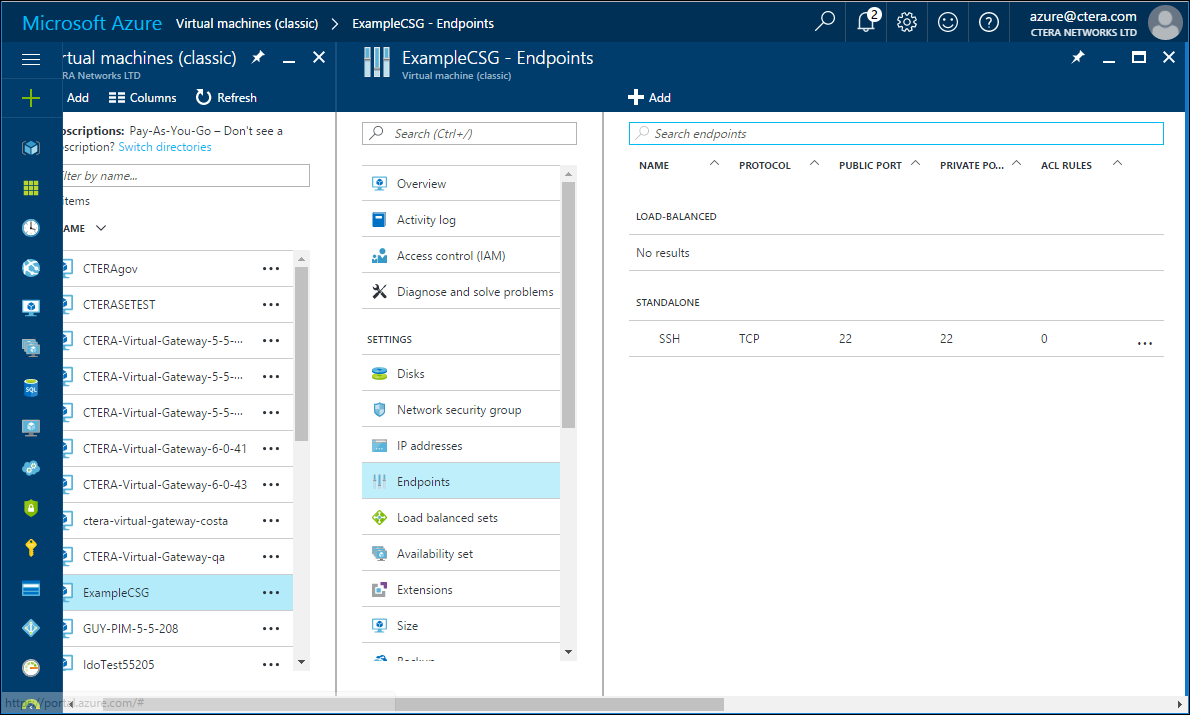
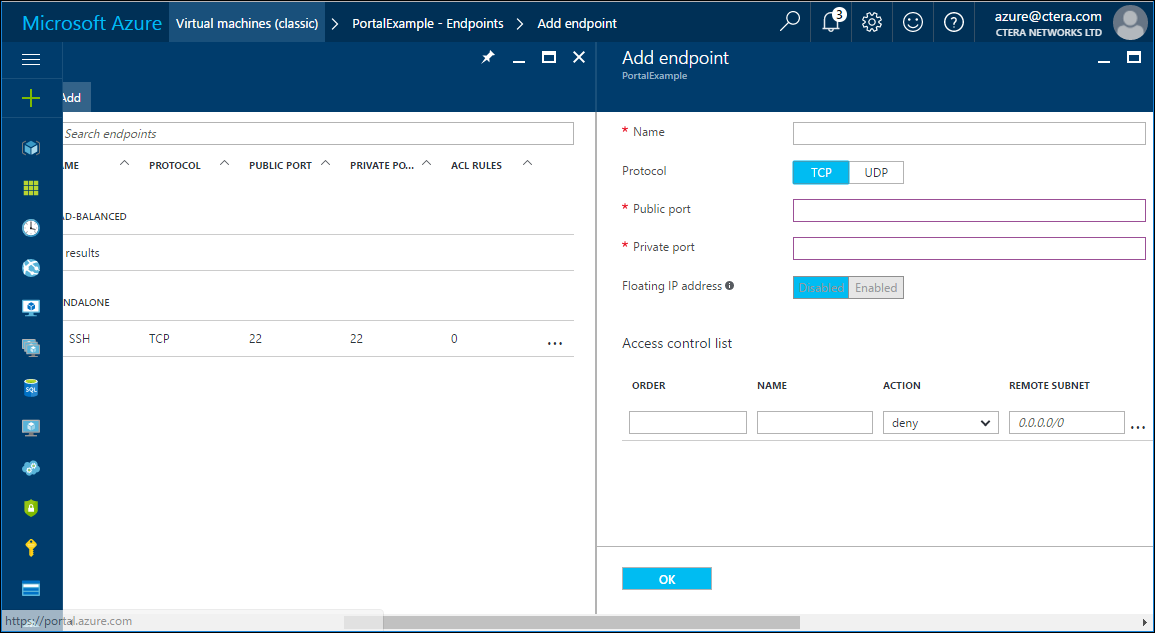
12 Click Endpoints.
13 Click Add.
The Add Endpoints pane is displayed.
14 Add the following endpoints, clicking OK after adding each endpoint:
Name | Protocol | Public Port | Private Port |
telnet | TCP | 23 | 23 |
SMTP | TCP | 25 | 25 |
DNS | UDP | 53 | 53 |
HTTP | TCP | 80 | 80 |
NFS | TCP | 111 | 111 |
NTP | UDP | 123 | 123 |
HTTPS | TCP | 443 | 443 |
15 Select Overview for the virtual machine to display its details.
Note the Virtual IP address.