When installing a secondary server, follow this procedure after performing the steps in Installing CTERA Portal. (All servers except the master server are secondary servers.)
By default, the server will be an application server running no other service. After initial setup, the application service and catalog node service can each be enabled or disabled through the CTERA Portal web interface (see the CTERA Portal Administration Guide for details.)
To configure a secondary server
Using a Web browser, browse to the CTERA Portal machine's IP address.
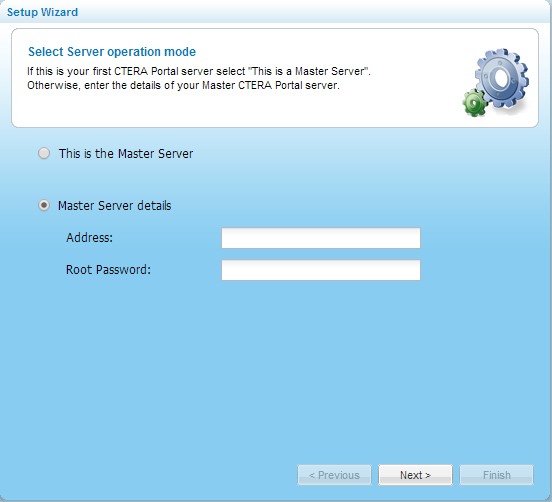
The Setup Wizard opens displaying the Select Server operation mode screen.
Select Master Server details.
Enter the address and root password of the master server in the fields provided.
Click Next.
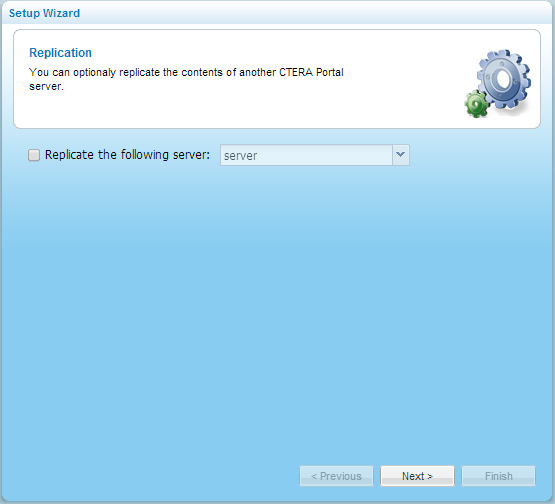
The Replication screen appears.
If you want the secondary server to act as a warm standby, select Replicate the following server, and select the server you want it to replicate from the drop-down list. All CTERA Portal database servers that are already set up appear in the list. Note that a warm standby doubles, by default, as an application server.
Click Next.
The Wizard Completed dialog box appears.
Click Finish.
A success message appears.
Click OK.
CTERA Portal opens displaying the Administrator Login page.
In the fields provided, type the user name and password you specified in the Setup Wizard for the master server.
Click Log In.
The Global Administration View appears displaying the Main > Dashboard page.