With AWS CloudFormation
Requirements
To install additional portals with CloudFormation, you need the following:
Additionally, the installation must comply with the following conditions:
Creating Additional CTERA Portals Servers
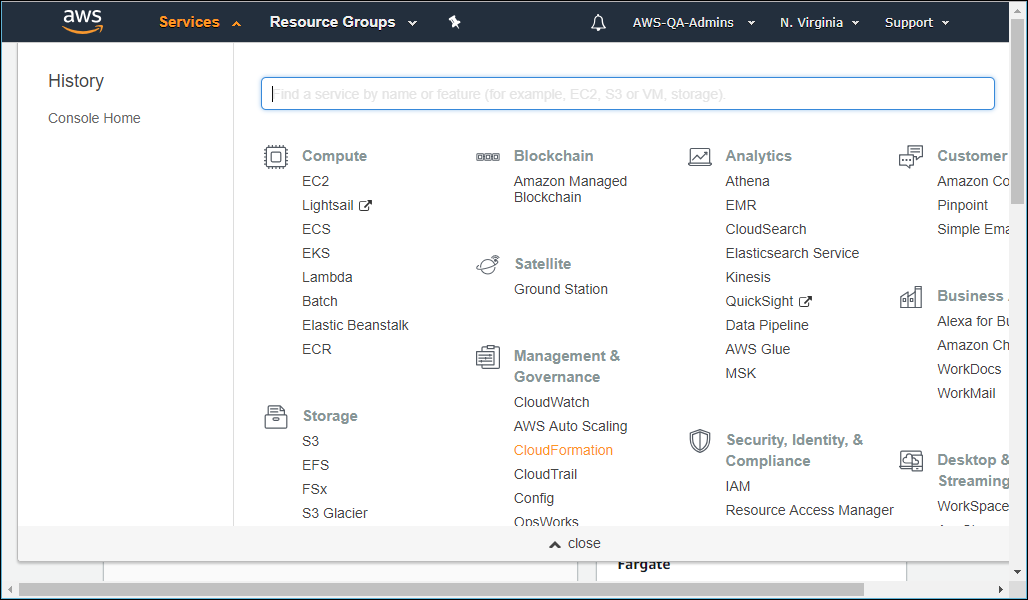
1 From your Amazon Web Services account, sign in to the AWS Management Console.
2 Select Management Tools > CloudFormation.
3 In the stack list screen click Create Stack.
The Create stack screen is displayed.

4 Under Specify template, select the Upload a template file option, click Choose file and specify the JSON template for the secondary server, from CTERA Support, that you downloaded and unzipped as part of the requirements.
Note: CTERA recommends that you do not change the template or use an unofficial template.
5 Click Next.
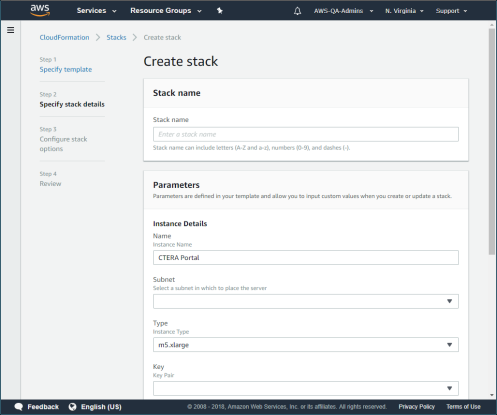
Stack name – A unique name to identify this stack.
Instance Details – The Type and Key for the instance.
EBS Volume Details – Specify the volume size and provisioned IOPS. CTERA recommends at least 2000 IOPS for a production environment.
Main Server Details – Enter the master for this secondary server from the dropdown list and the master key PEM for the key pair specified for the master server.
6 Click Next.
7 Optionally, specify Tags, key-value pairs, for resources in your stack.
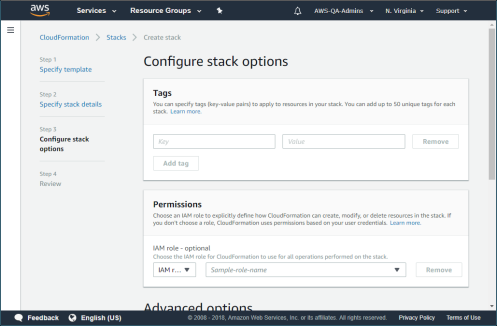
8 Click Next.
The instance is ready for review.
9 To create the instance check the acknowledgment check box at the bottom of the page and click Create.
The stack assembly process creates a portal with the predefined assembly flow defined in the CloudFormation template.
Note: Stack creation can take up to 20 minutes.
10 Click the stack name and select the Outputs tab, and then use the URL in the Value column to access the secondary server.
11 The CTERA Portal opens, displaying the Administrator Login page. There is no initialization wizard.
Configuring an Additional Server (All Platforms)
To configure an additional server:
Note: If the HTTPS administration port was changed on the master server, you must enable the relevant port on all servers.
1 Using a Web browser, browse to the new server, via the IP address or DNS.
The Setup wizard opens, displaying the Select Server operation mode window.
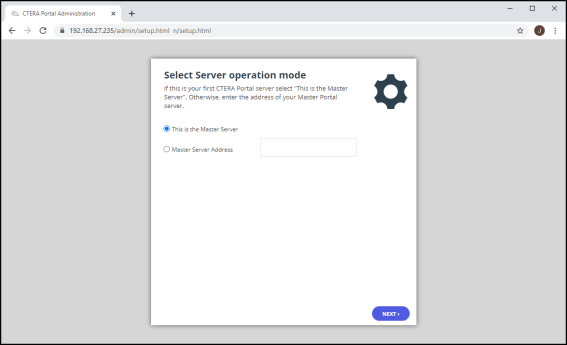
2 Choose Master Server Address and enter the address of the master server.
3 Click Next.
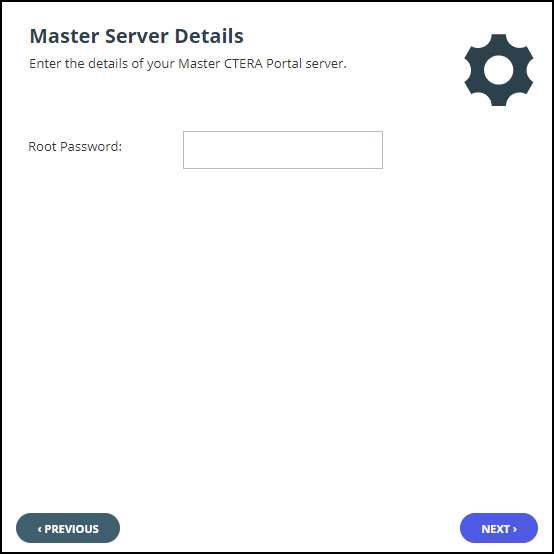
4 Enter the root password for the master server and click Next.
The Replication window is displayed.
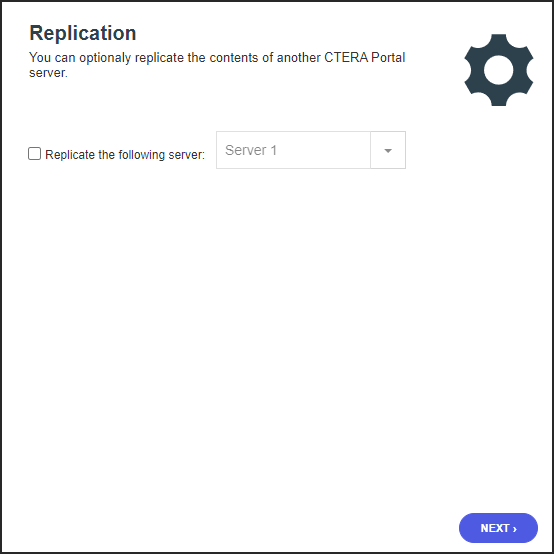
5 To configure this server as a replica of the main database or a catalog node, select the Replicate the following server check box, and then select the server you want to replicate in the drop-down list.
6 Click Next.
The wizard completes and a success message is displayed.
7 Click OK.
CTERA Portal opens, displaying the Administrator Login page.
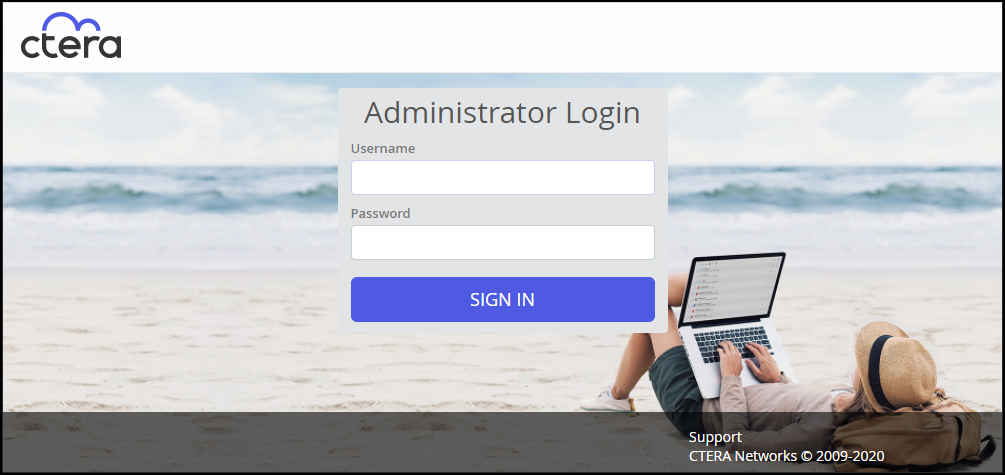
8 Enter the user name and password and click SIGN IN.
The portal opens, displaying the Main > Dashboard page.
By default, CTERA Portal creates a team portal called portal. For information about how to rename, view and edit this portal, or create additional team or reseller portals, see the CTERA Portal Global Administration Guide.
9 In the global administration view, select Main > Servers in the navigation pane.
The SERVERS page is displayed, listing all the servers for the CTERA Portal.
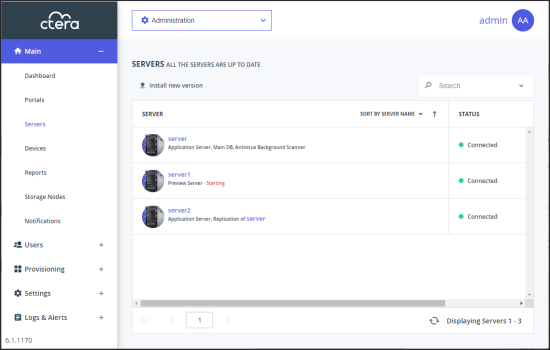
10 Click the server to edit.
The server window is displayed with the server name as the window title.
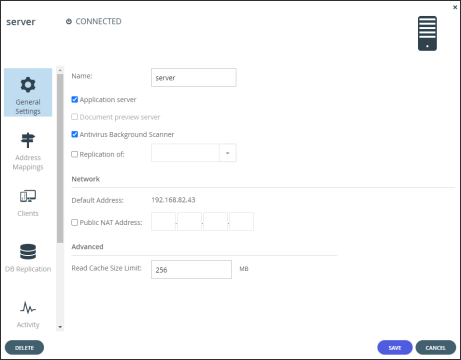
11 Check the boxes of the services to be provided by this server.
The server can act as an application server, catalog node, or a document preview server.
12 Click SAVE.