Preparing a Backup Seeding Hard Drive
When you have a lot of information to back up, the initial backup to the cloud can take a long time. If your CTERA service provider offers a backup seeding service, you can speed up the initial backup by preparing a drive that contains all of the files you want to include in your initial backup. You then deliver this seeding drive to the service provider, and the service provider uses the drive to create the initial backup.
The seeding drive can optionally be encrypted using AES-256 and RSA public key encryption for additional security.
To prepare a backup seeding hard drive:
1 Select the files and folders you want to include in the initial backup.
These files and folders will be written to the seeding drive.
2 In the CONFIGURATION tab, select Cloud Backup > Control Panel in the navigation pane.
3 Click Seeding.
Note: The Seeding option is displayed only if the backup seeding service is supported by your service provider.
The Select Seeding Destination window is displayed.
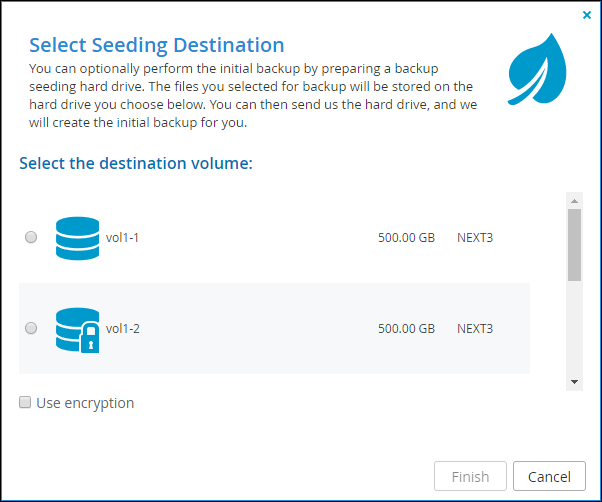
4 Choose the drive to use as the seeding drive.
Warning: The original content of this drive will be deleted.
5 Optionally, to encrypt the seeding drive, select the Use encryption check box.
6 Click Finish.
7 Click Yes in the confirmation message that is displayed.
The selected files and folders are written to the seeding drive.
Deliver the seeding drive to your service provider.
Note: During the time your service provider is loading the backup seeding drive to your account, the backup service will be temporarily disabled for your gateway.